Marking Guide

 Base Rules
|
Marking Layering
|
All markings have a layering type listed on their front pages. These tell you what markings they can and can't layer over/under!
|
Tricks and Allowances
|
If you really want to make your import pop, there are several small additions you can add to your design. These effects should remain subtle!
  |
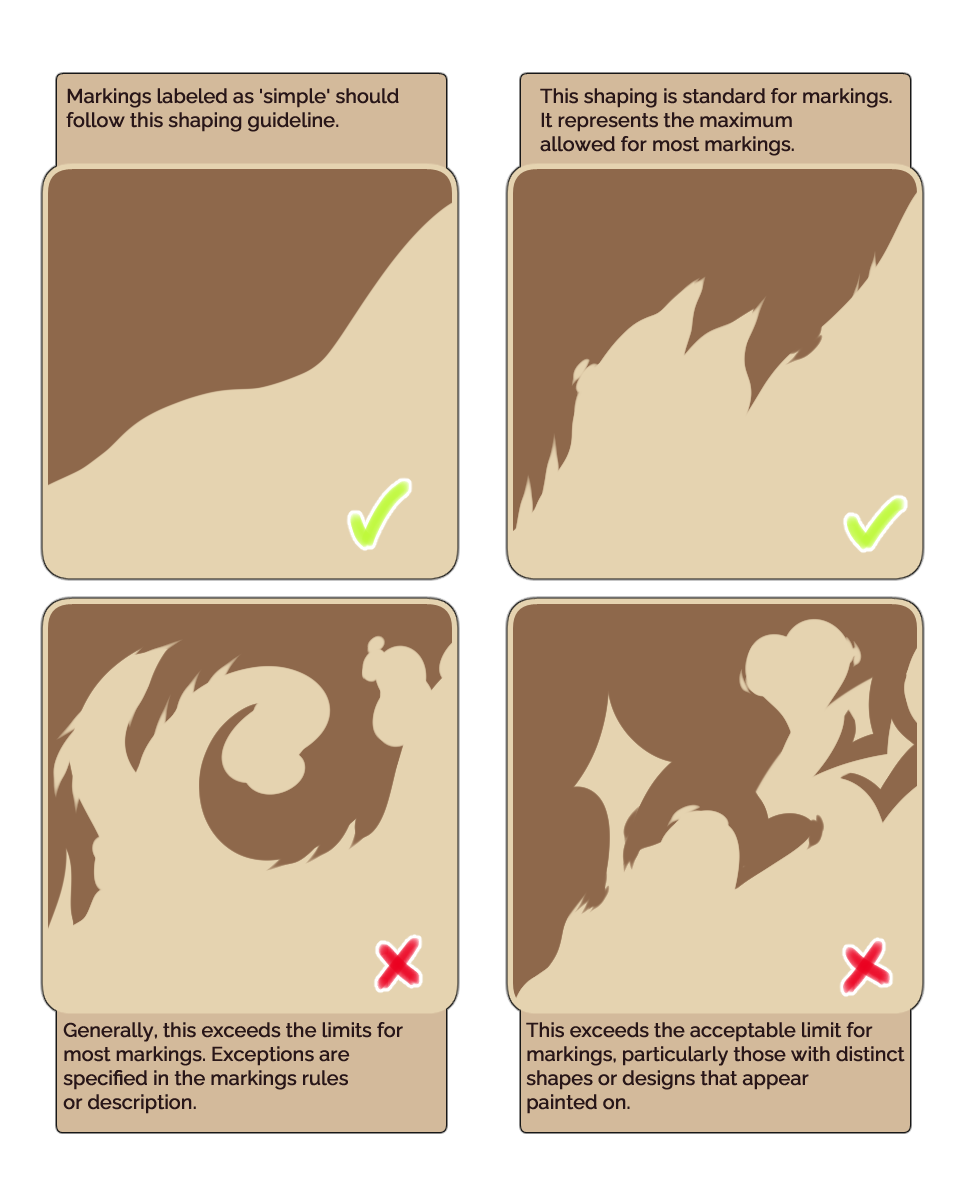
Marking Shaping
Color Permits
Markings can be the same color as others that share the same color rules, as long as they don't look too much like a marking that the geno doesn't have! You can help to show the different markings by providing a marking map to the Design team, learn more about those [ Here ]! Please note that if you choose not to provide a marking map, the Design team may put your design on hold until you can provide them with one!

|
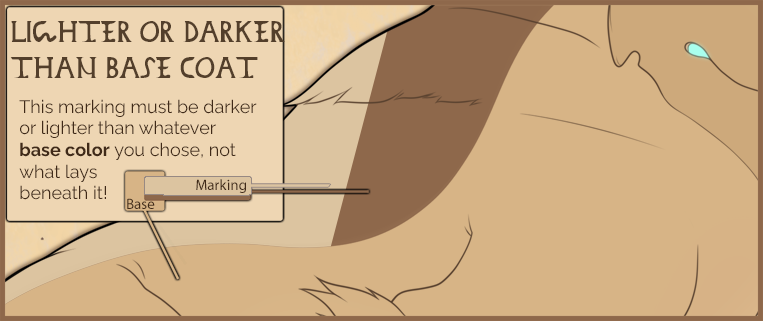
This tells you that your marking should be darker than the color you have chosen for the base coat! |
|
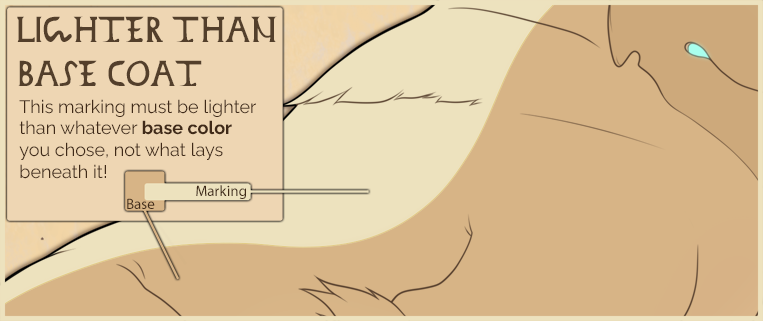
This tells you that your marking should be lighter than the color you have chosen for the base coat! |
|
This tells you that your marking can be either be lighter than or darker than the color you have chosen for the base coat! It may not be both! |
|
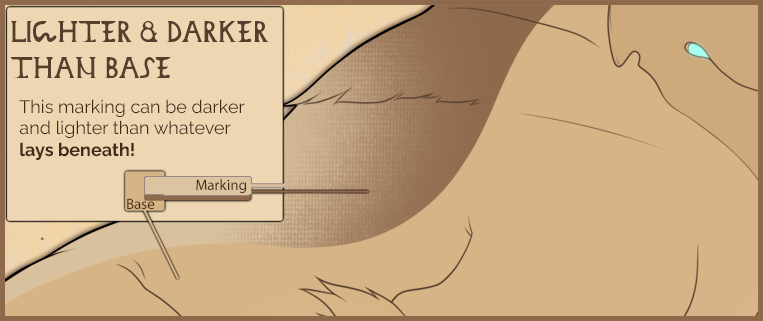
This tells you that your marking can be be lighter than AND darker than the color you have chosen for the base coat! It does not have to be both, but is allowed to be if you'd like! |

|
This tells you that your marking has special color rules- Check out the rest of its' guide to learn more! |
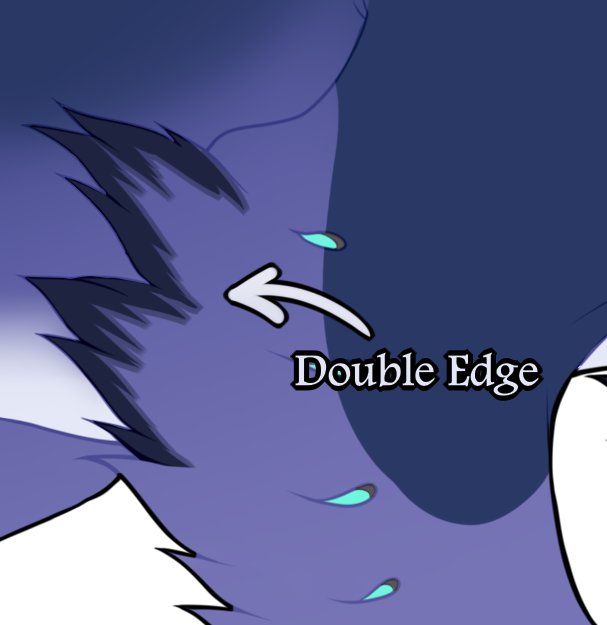
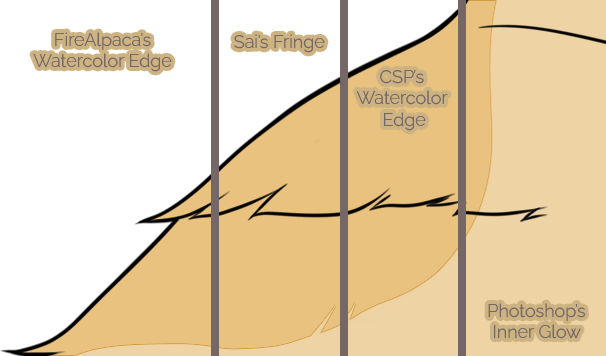
Edge Permits
- All markings give you one of three allowed edge types!
- All markings are allowed to show a fur texture on longer fur, like the backs of the hind legs or arms on the furred coat!
|
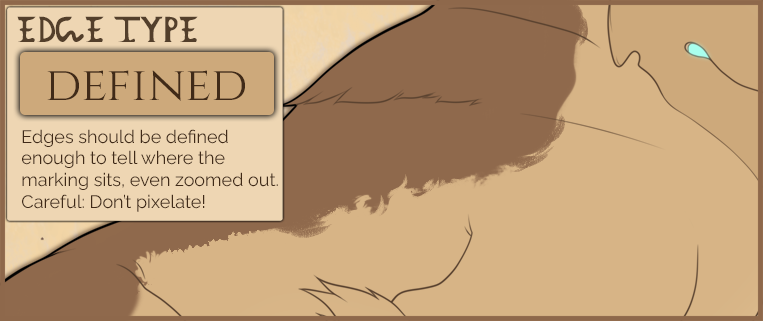
This tells you that your marking should have a Defined edge. It may look hard, semi-soft, or textured as long as the edge is clearly defined when zoomed out. |
|
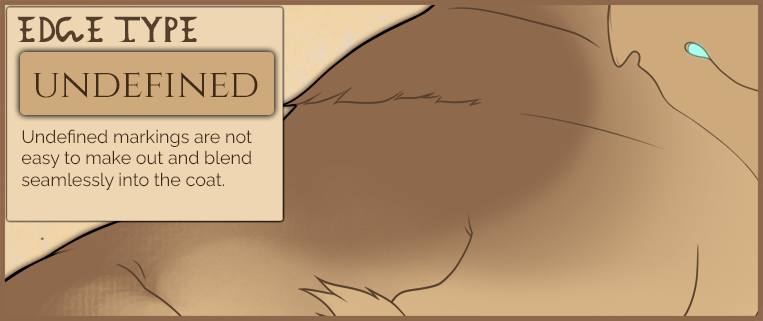
This tells you that your marking's edges should be undefined! It may look textured, painterly, or soft as long as the edges are soft and undefined when zoomed out! |
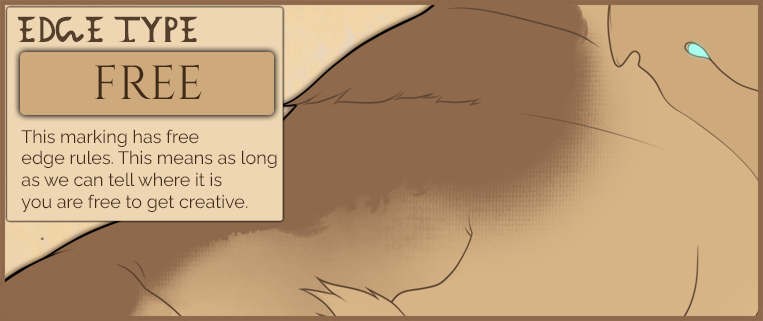
|
This tells you that your marking's edges can be both defined and undefined! They have complete freedom, but may not appear to have "layers" between the edges. |
Understanding Marking Colors
|
Make sure that all markings, first and foremost, follow the color rules listed on their guides! Some markings have special color rules and only allow for specific sliders to be used!
Ink, Terra, Solum, Osseus, and Dune are also known as the "Natural" sliders and may only use each other as their Adjacent sliders! Please note that despite having four sliders to pick from, you can still only pick one slider as your chosen Adjacent!  Remember that you can only use one Adjacent slider!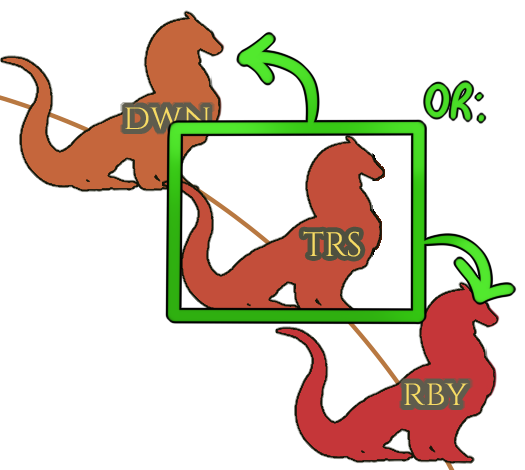 |
Slider Breakdown
Every slider has different portions that can be used depending on the marking!
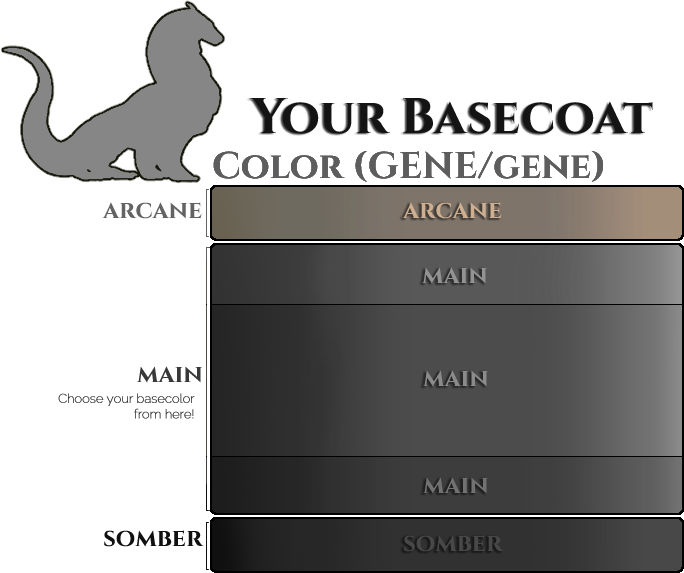
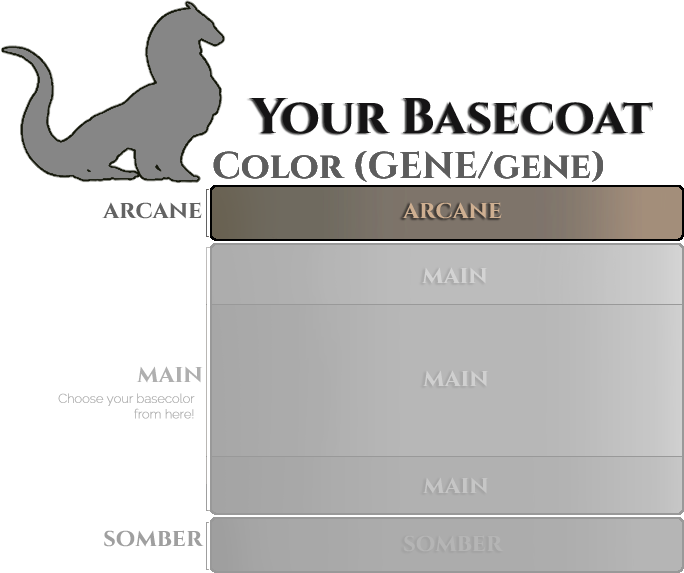
|
This is the Arcane portion of the slider! It is much more saturated than the rest of the slider, and as such can only be used for specific markings! |
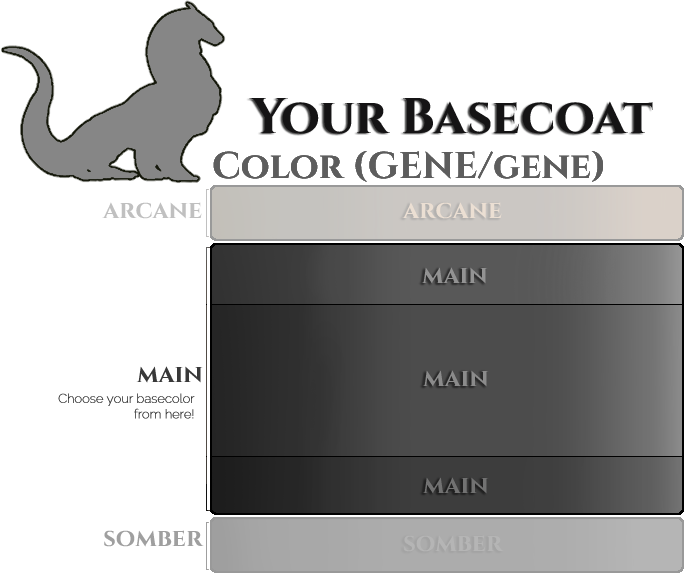
|
This is the Main portion of the slider! As long the marking does not have special color rules stating otherwise, most markings can use this portion of the allowed sliders freely! |
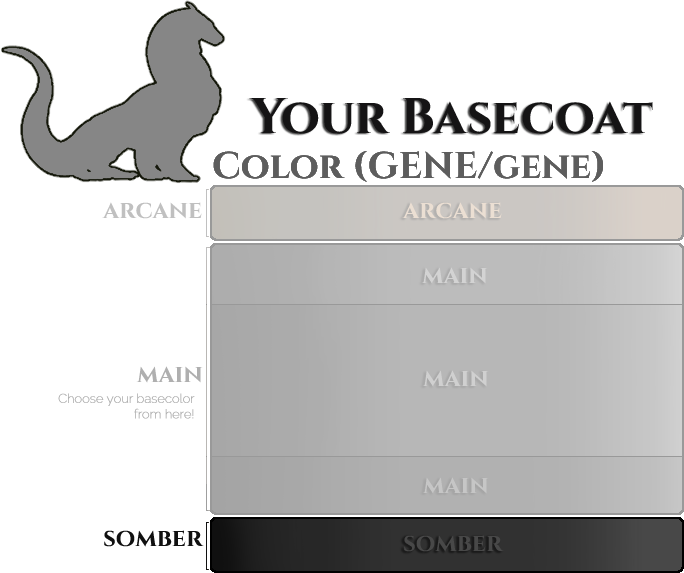
|
This is the Somber portion of the slider! As long as the marking does not have special color rules, most markings are able to use this portion of the slider freely! Please note that you may never use this portion of the slider as a Base color without Somber in your Geno! |
Special Color Rules
Some markings, like Free Marks, have the special color rules icon, along with the specific sliders or portions of the slider they're supposed to use!
|
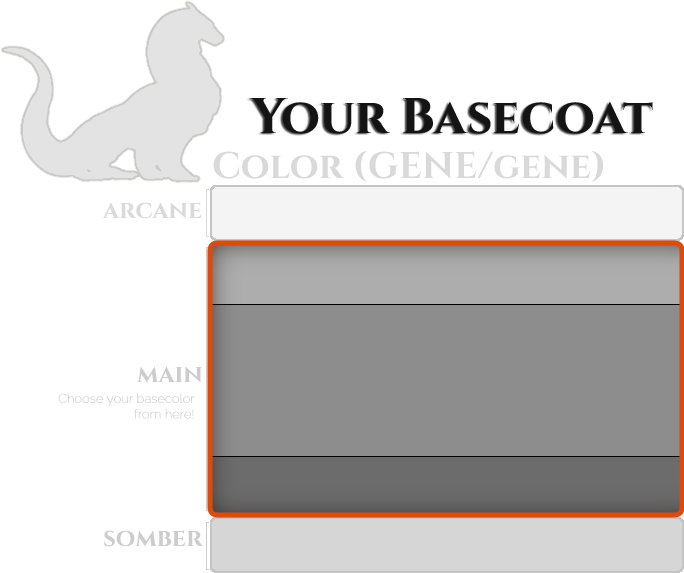
This tells you that your marking can only take its' colors from the Main portion of your base coat slider! These markings can never take from an Adjacent slider, nor can they use the Somber or Arcane portion of your base coat slider! |
|
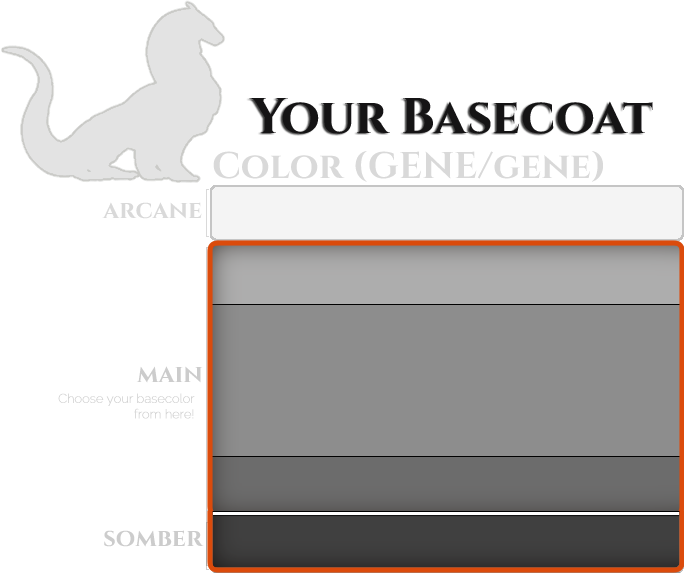
This tells you that your marking can only take its' colors from the Main and Somber portion of your base coat slider! These markings can never take from an Adjacent slider, nor can they use the Arcane portion of your base coat slider! |

|
This tells you that your marking should be white! Unless paired with one of the above sliders or another rule, these markings should always look white against the rest of the design, even if they aren't color-picked from the white slider! |

|
This tells you that your marking should be black! Unless paired with one of the above sliders or another rule, these markings should always look black against the rest of the design, even if they aren't color-picked from the black slider! |
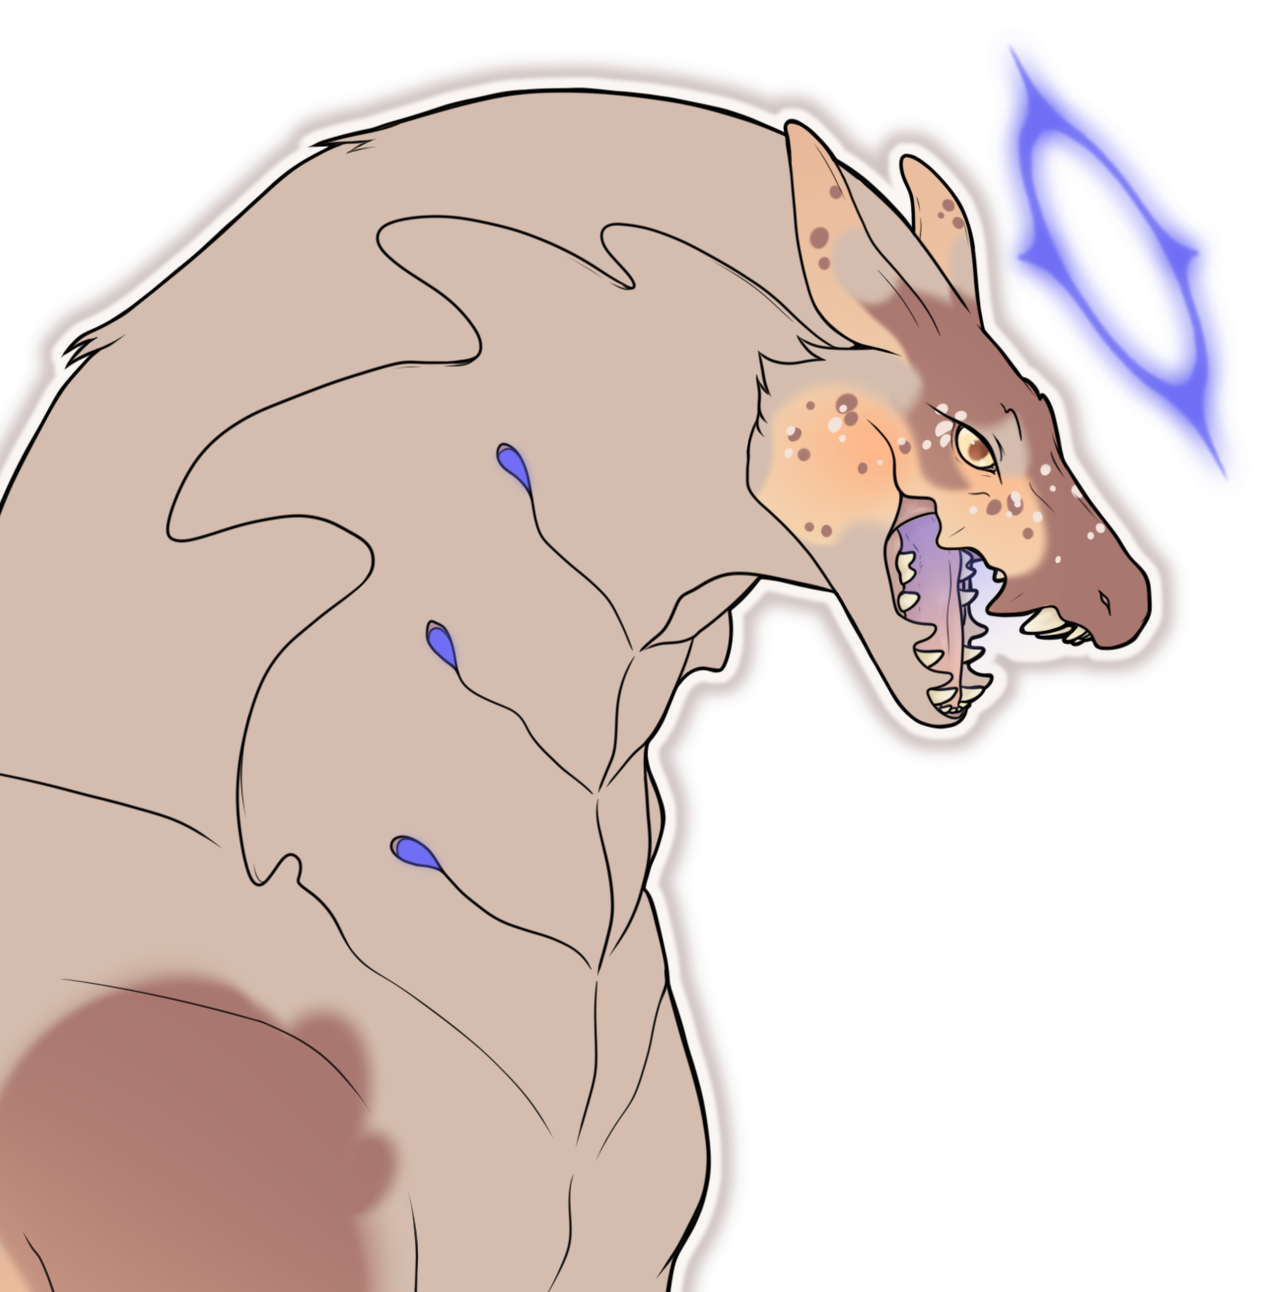
How to Handle White Marks
|
White markings are allowed to be slightly tinted in order to be less harsh on the design! This comes with a few caveats; if you're not careful you may get sent to Corrections! Please note that the hue of the tinted white should still mostly fit the hue of the overall design, unless the white is pulled directly from the slider! |

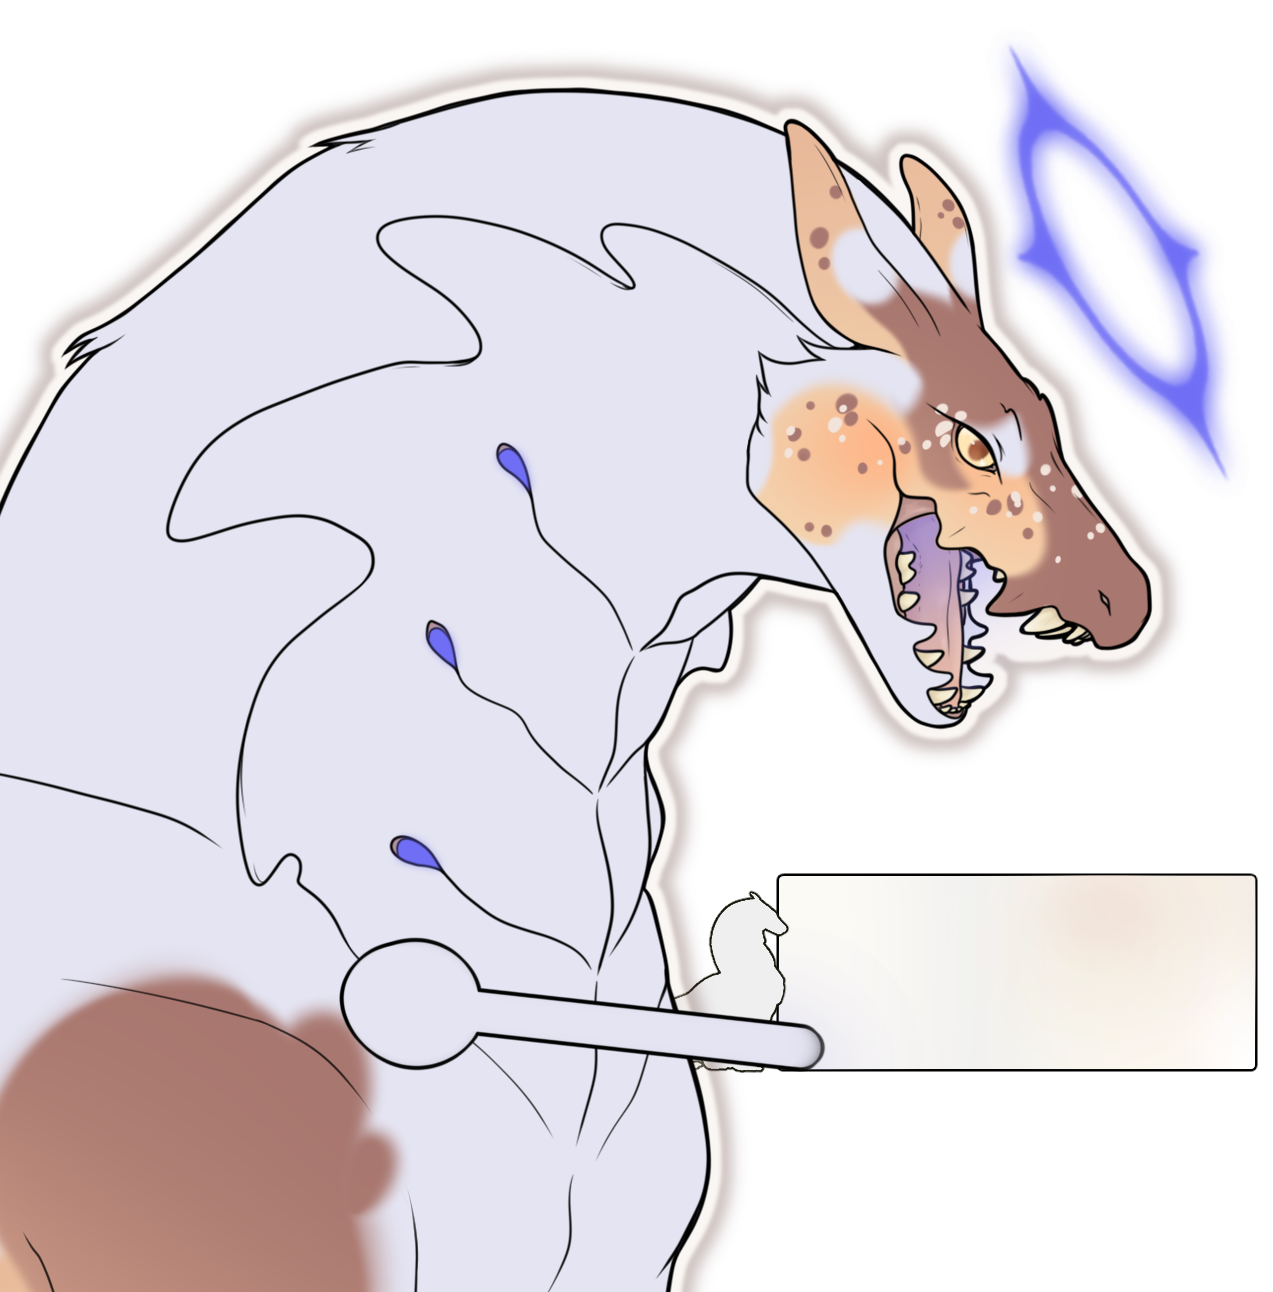
|
This white color is completely fine. It still reads as white, and has a similar hue to the rest of the design! This would be approved. |

|
This color is way off hue compared to the rest of the design and is very clearly pink! Even though it looks decently white, it would still be sent to corrections. |
|
This white color is too dark, and almost looks like a supersaturated grey! Be careful to make sure all white markings on the design are actually white! |
|
Though this is a different hue from the rest of the design, this is fine! It is pulled directly from the slider, and therefore would be approved. Just make sure that it is clearly pulled from the slider! |
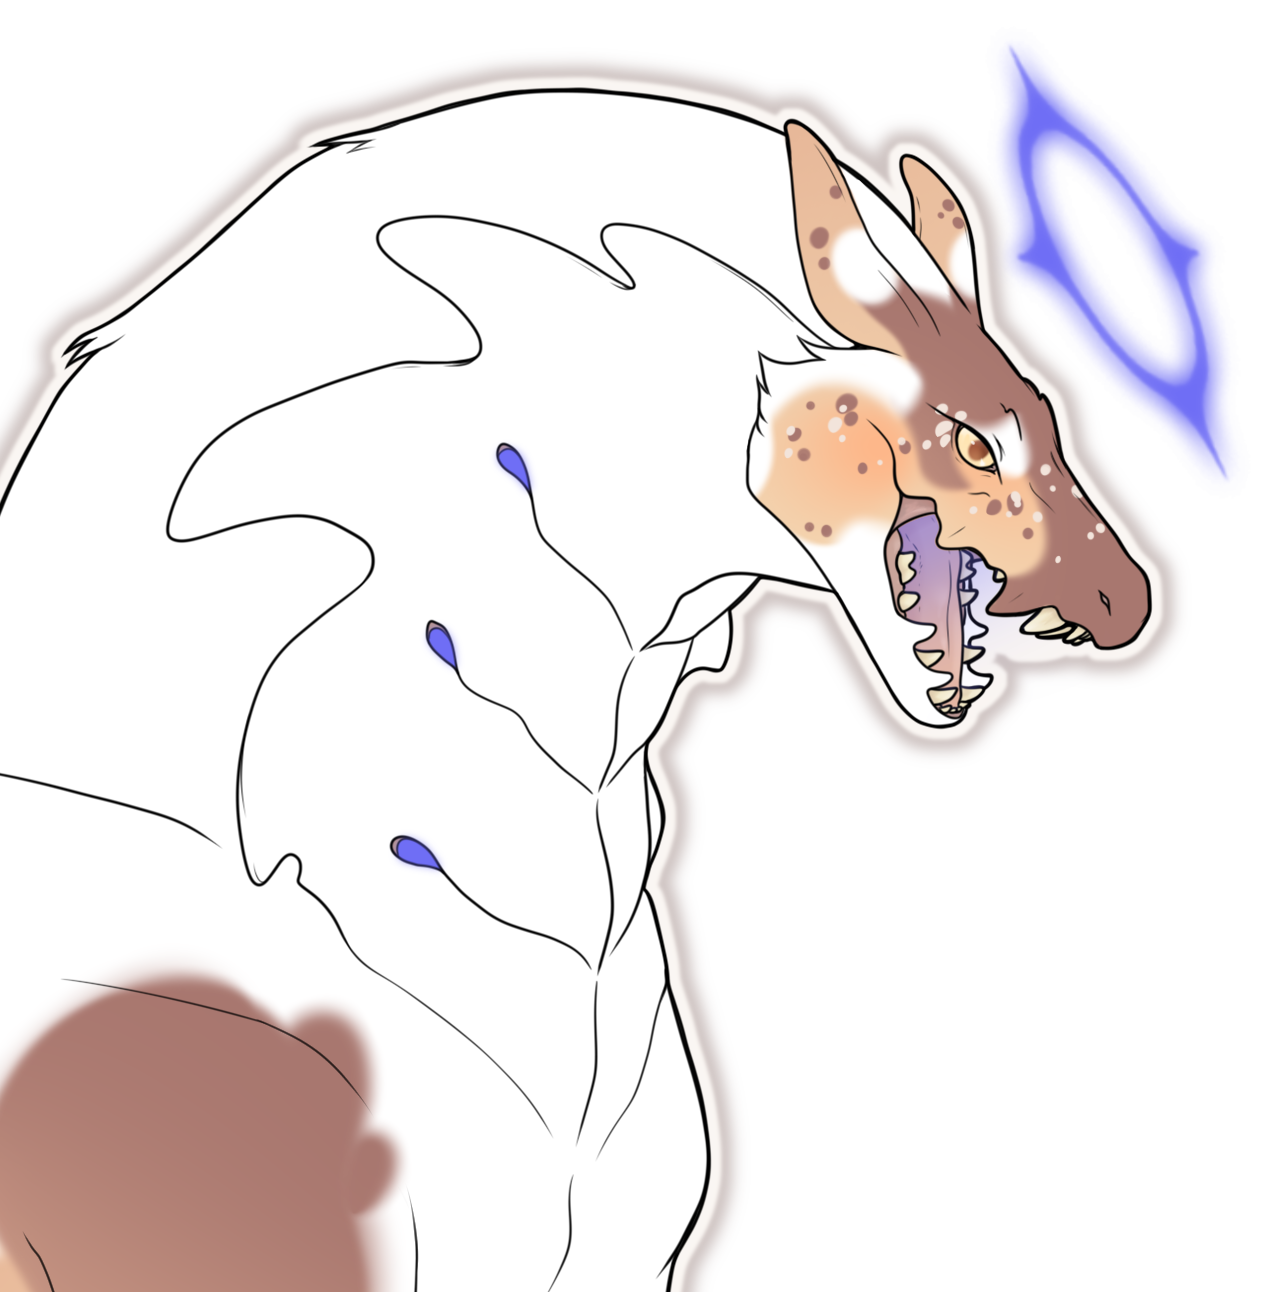
|
This is pure white, and completely legal! Hue/Saturation don't come into play here, because this is pure, 100% white. |

|
You may also tint the edges of your white markings! Make sure they are subtle, and don't make the whole marking look too dark! |