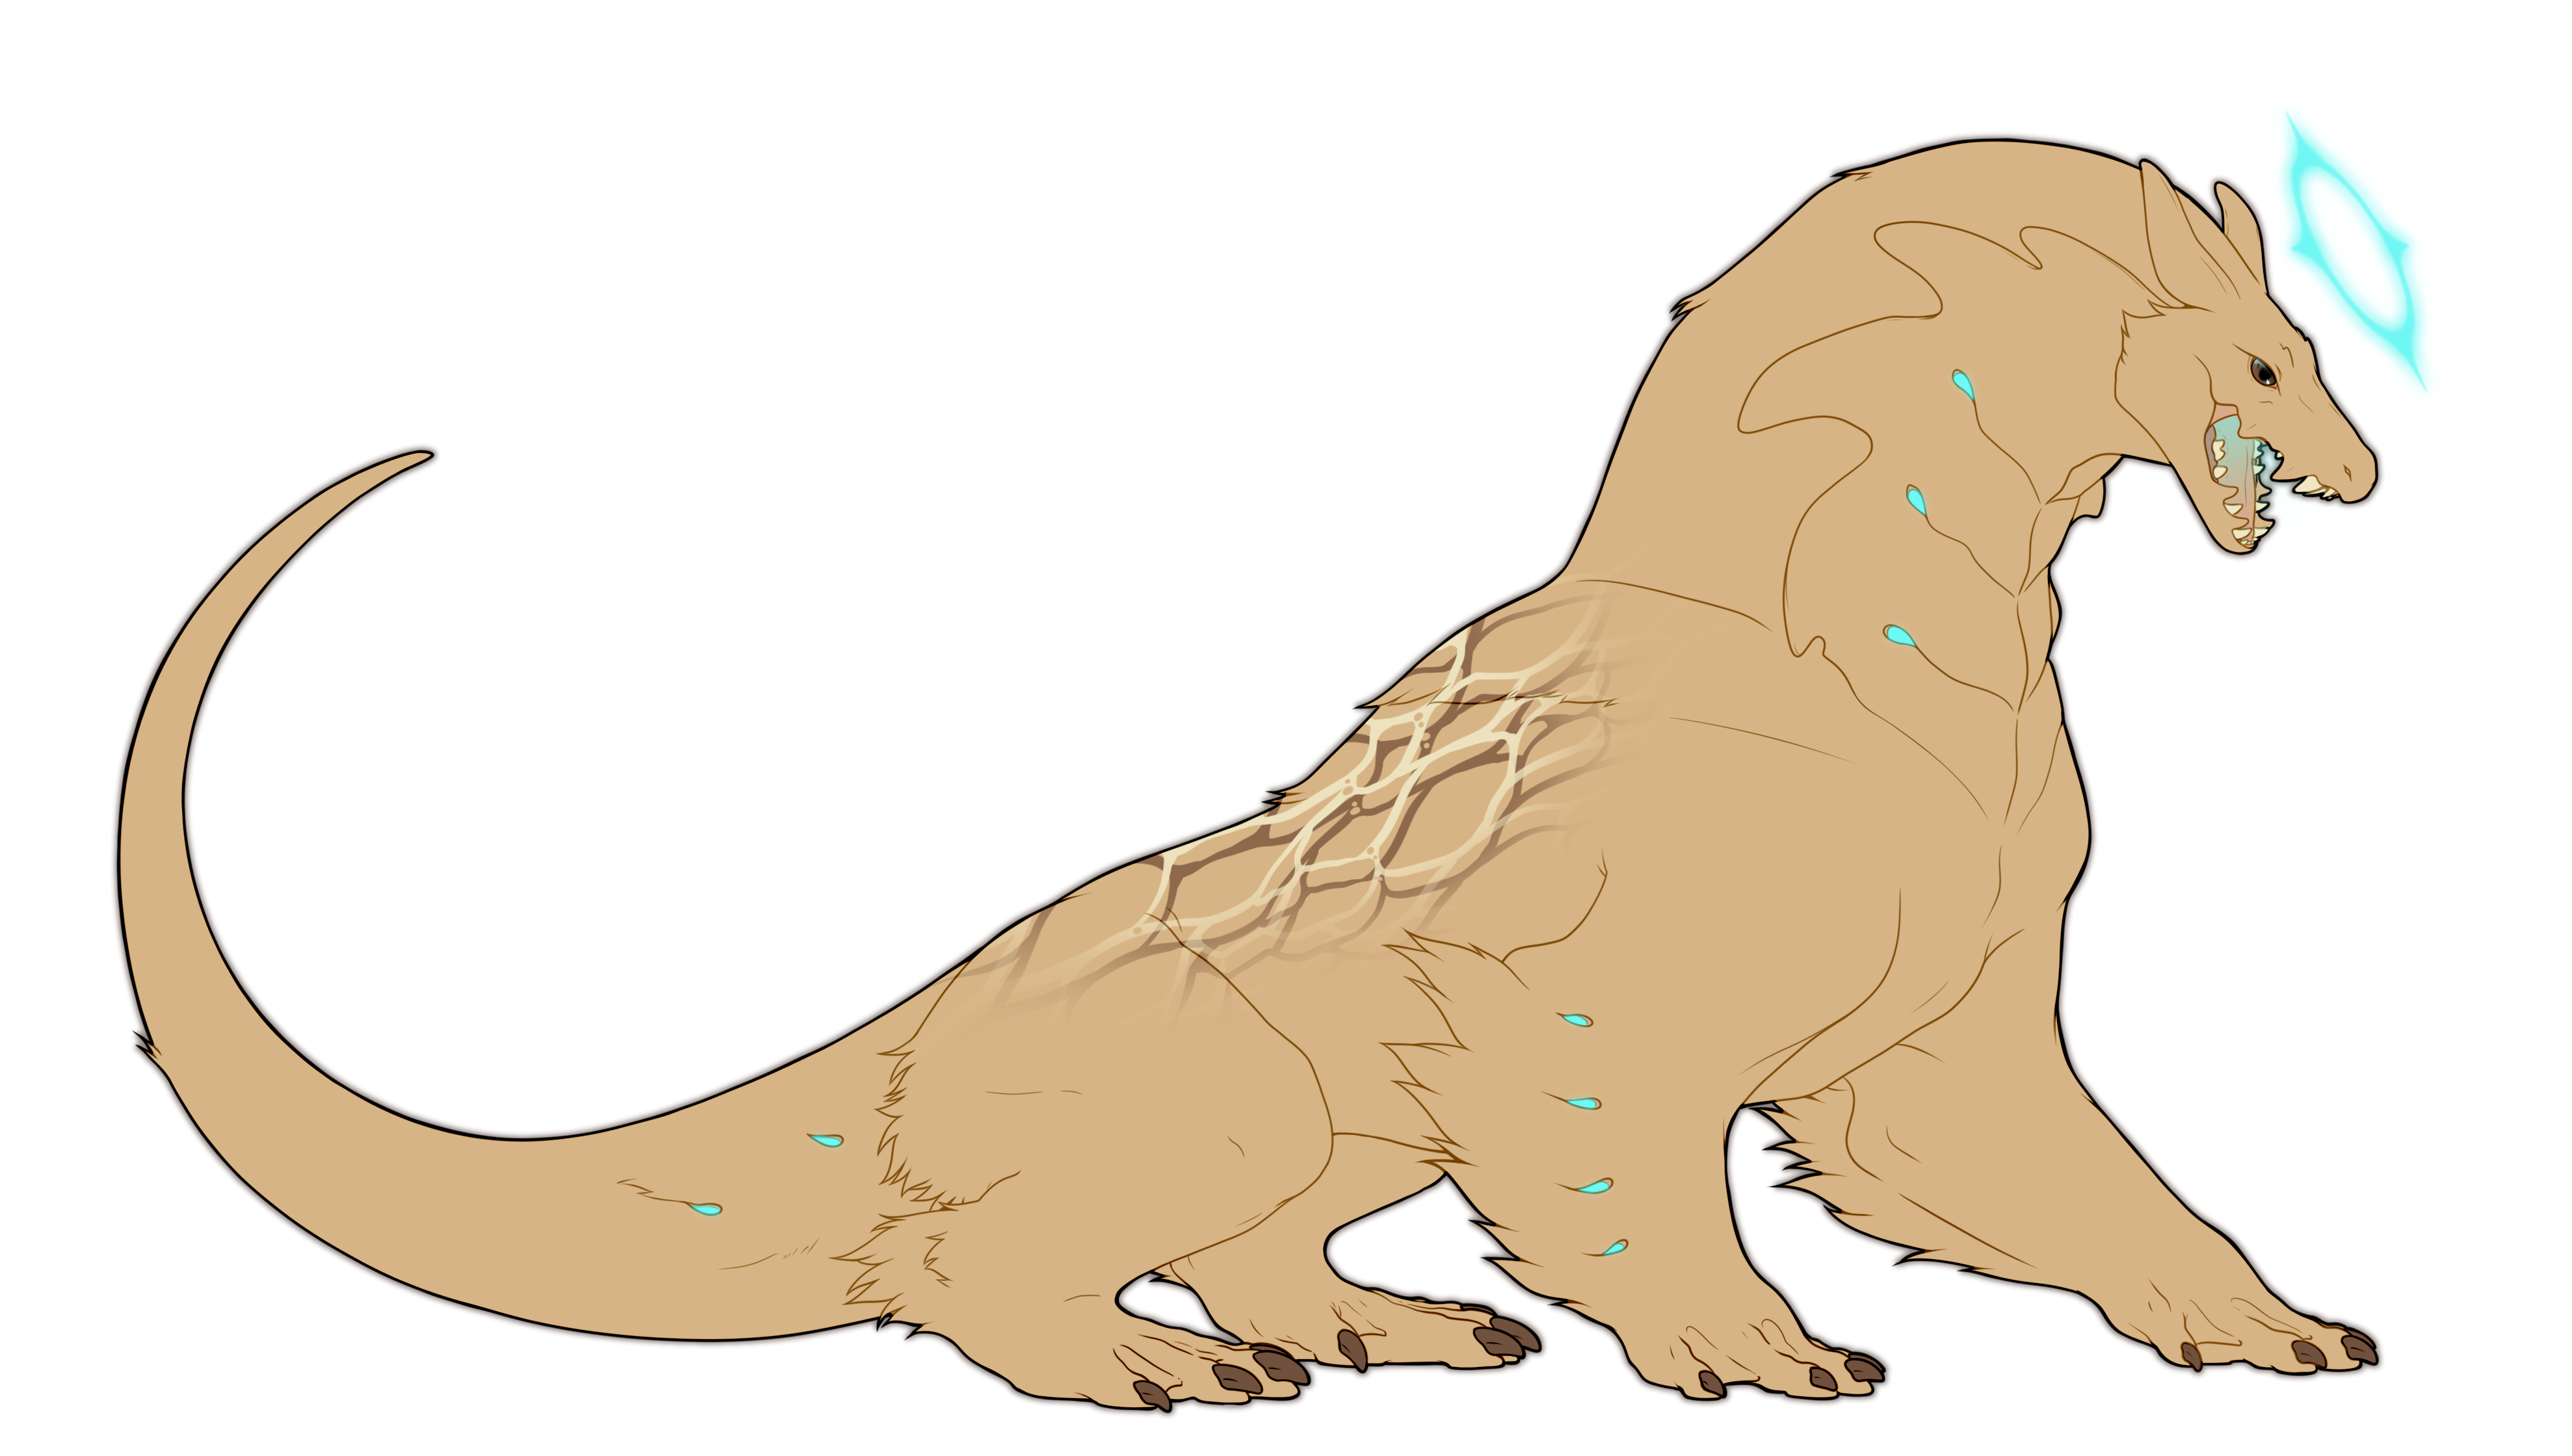
Submerged
SBM/sbm
Overview
This marking is said to originate from when the rex moved to the dome. Those rexals who mourned the sun and would seek it out even underwater were branded with its rays, falling through the ocean's surface. It's a very pretty marking, but those with it are teased for having sentimentality in their bloodline.
|
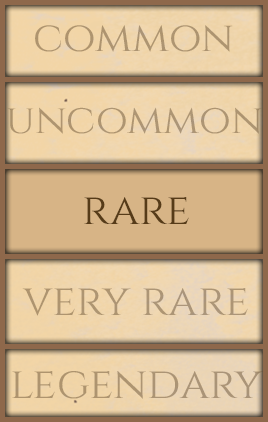
Marking Rarity
|
Marking Layering
|
Marking Colors
|
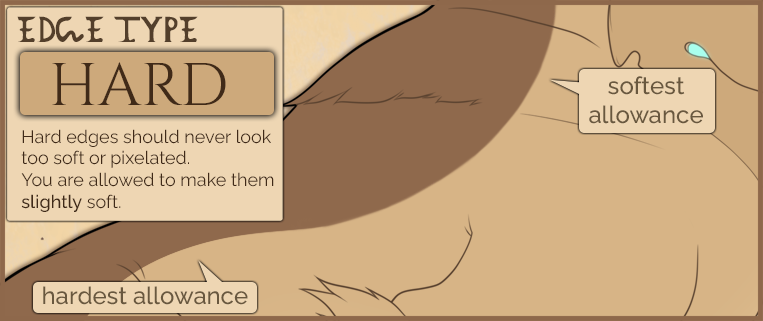
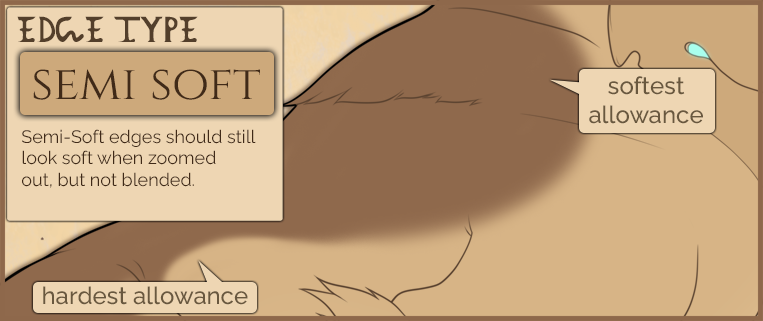
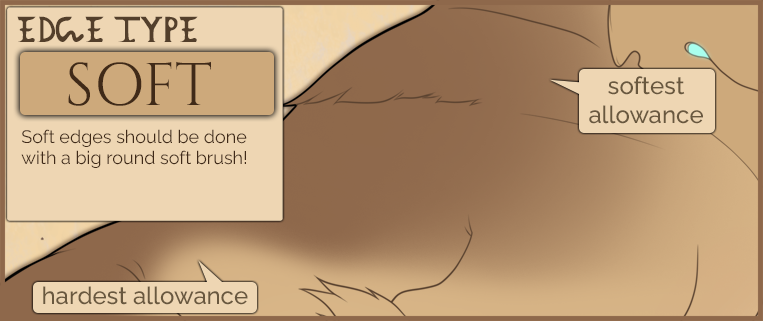
Marking Edges |
Symmetry Rules |


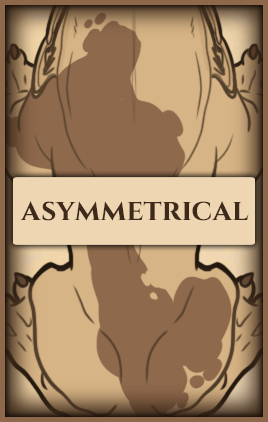
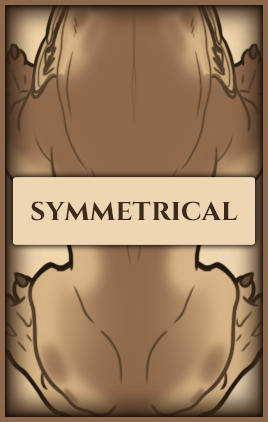
 Rules
Rules
|
 Boundaries
Copy paste these images directly into your art program over your design and set them to multiply for the best work effect.
Alternatively you can download the boundary PSDs with the marking boundaries!
| There are no Boundaries for Submerged. | There are no Boundaries for Submerged. |
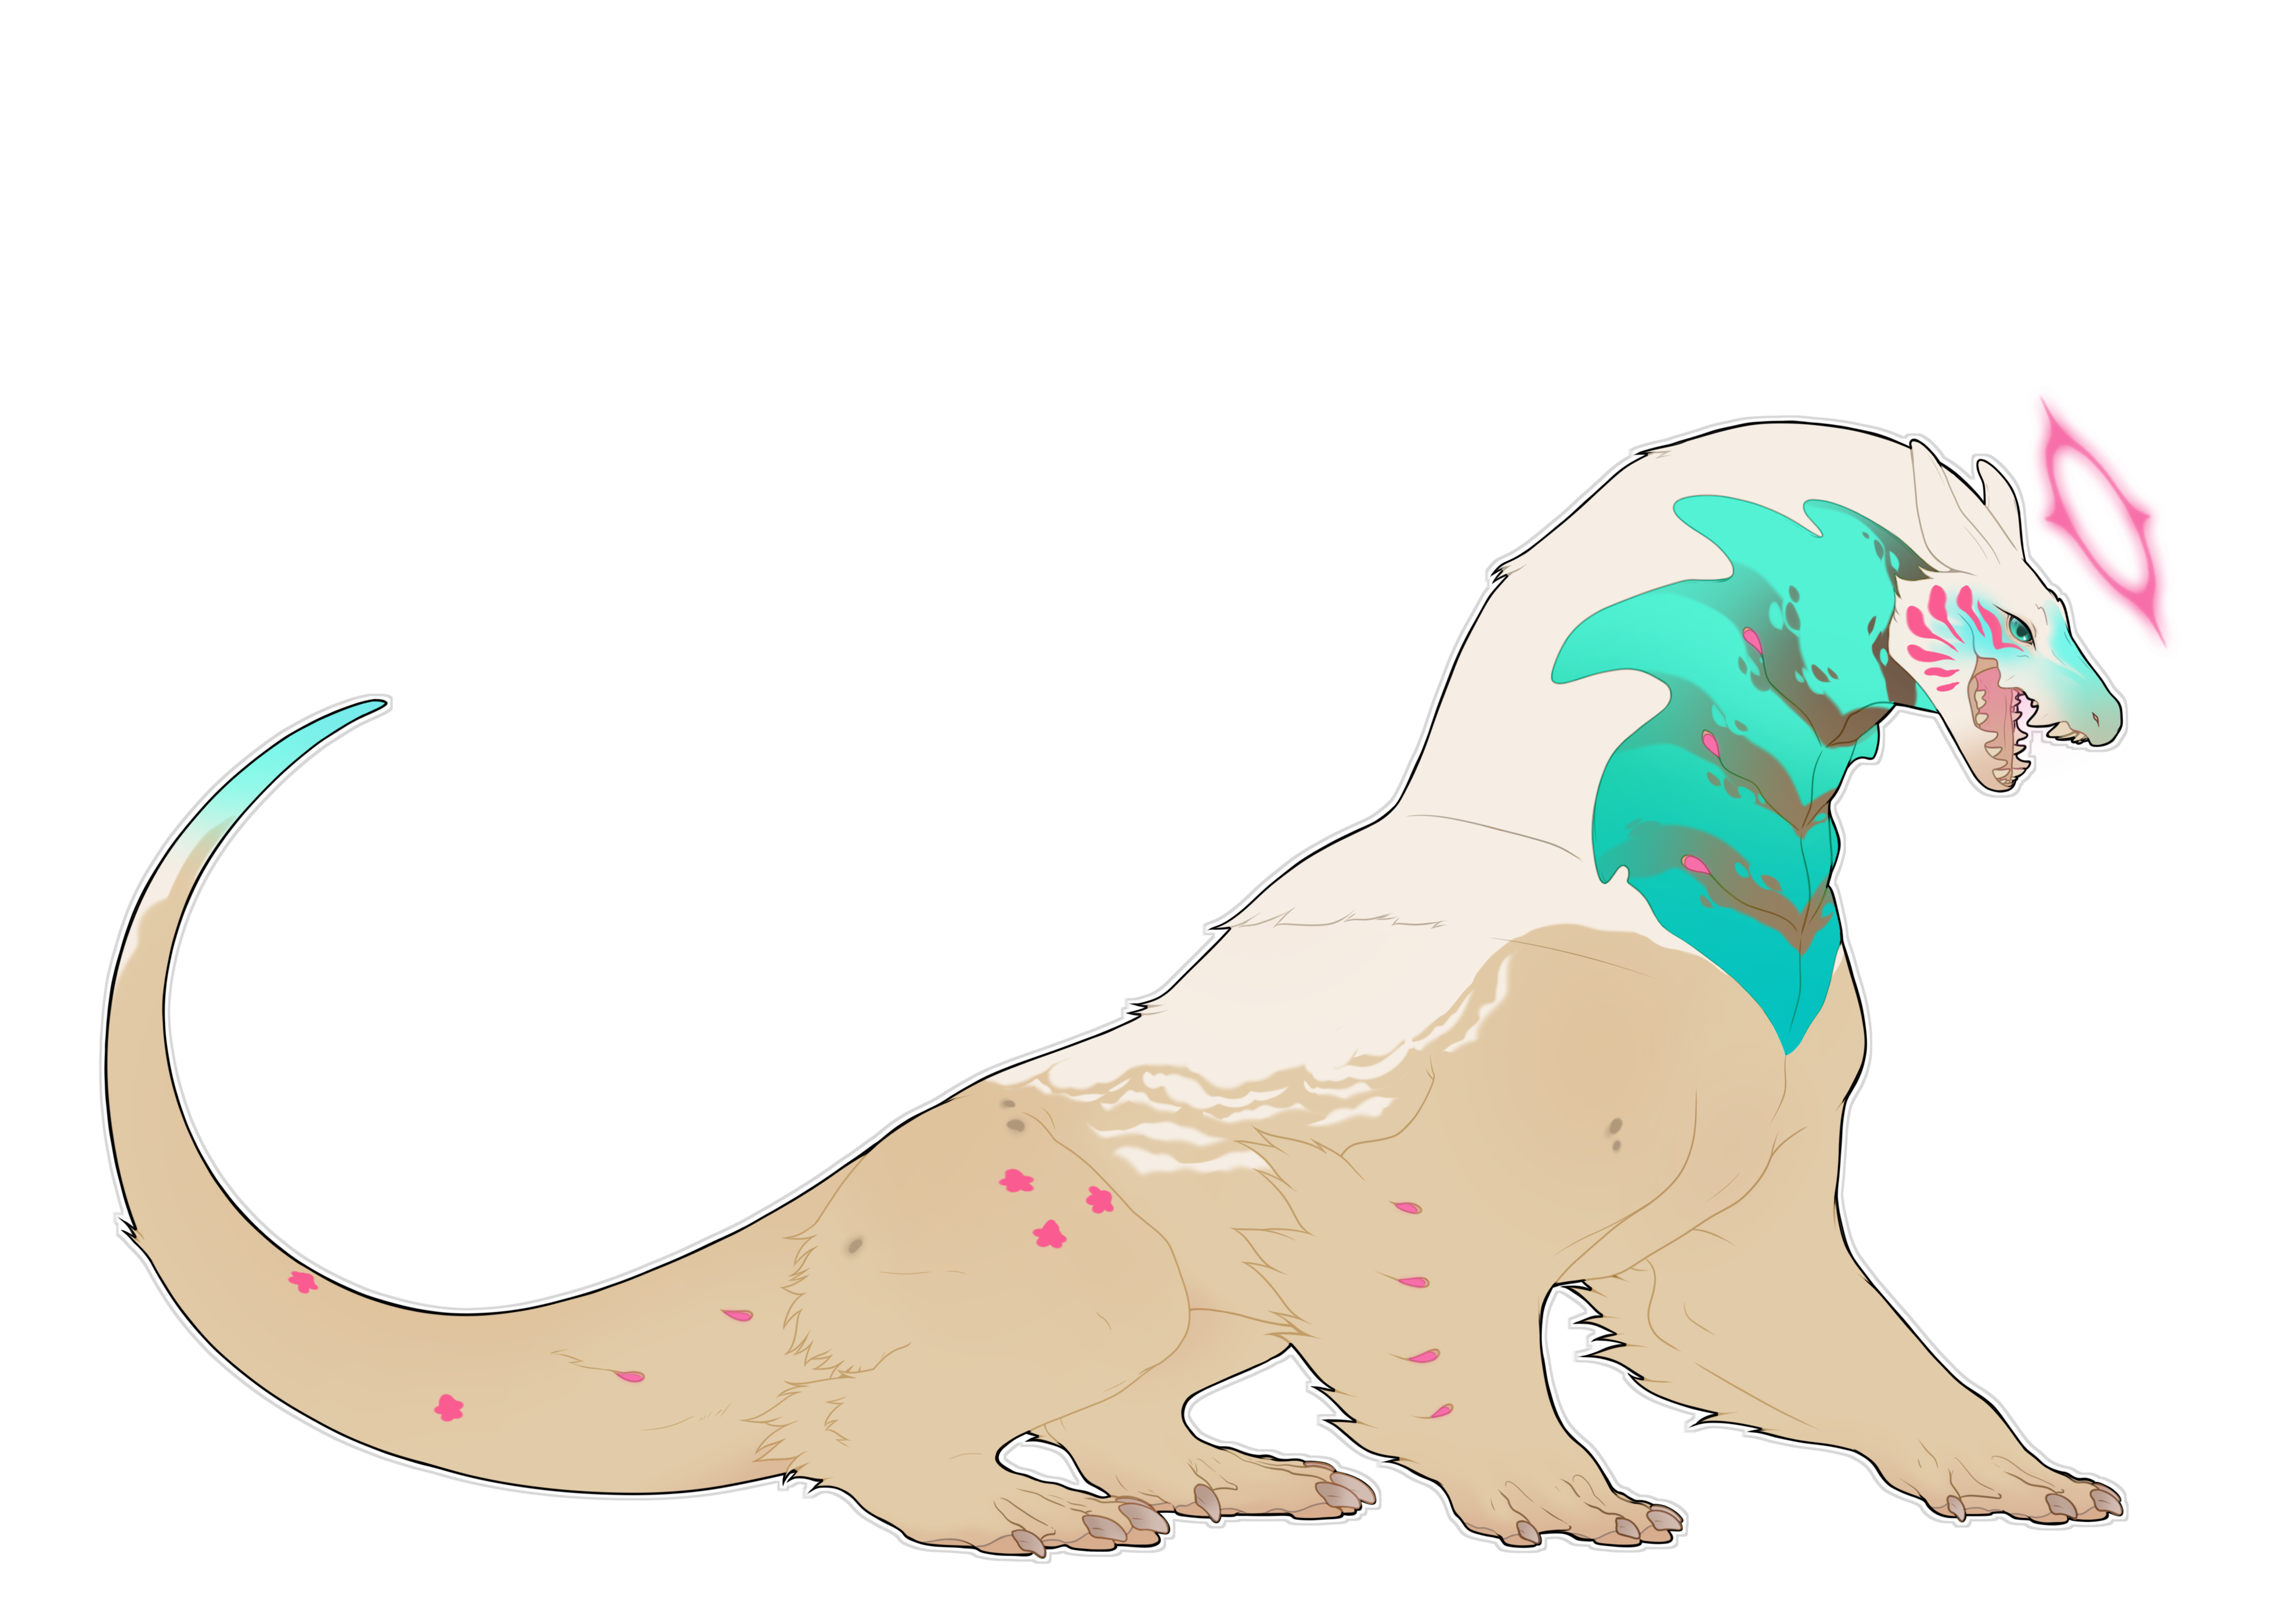
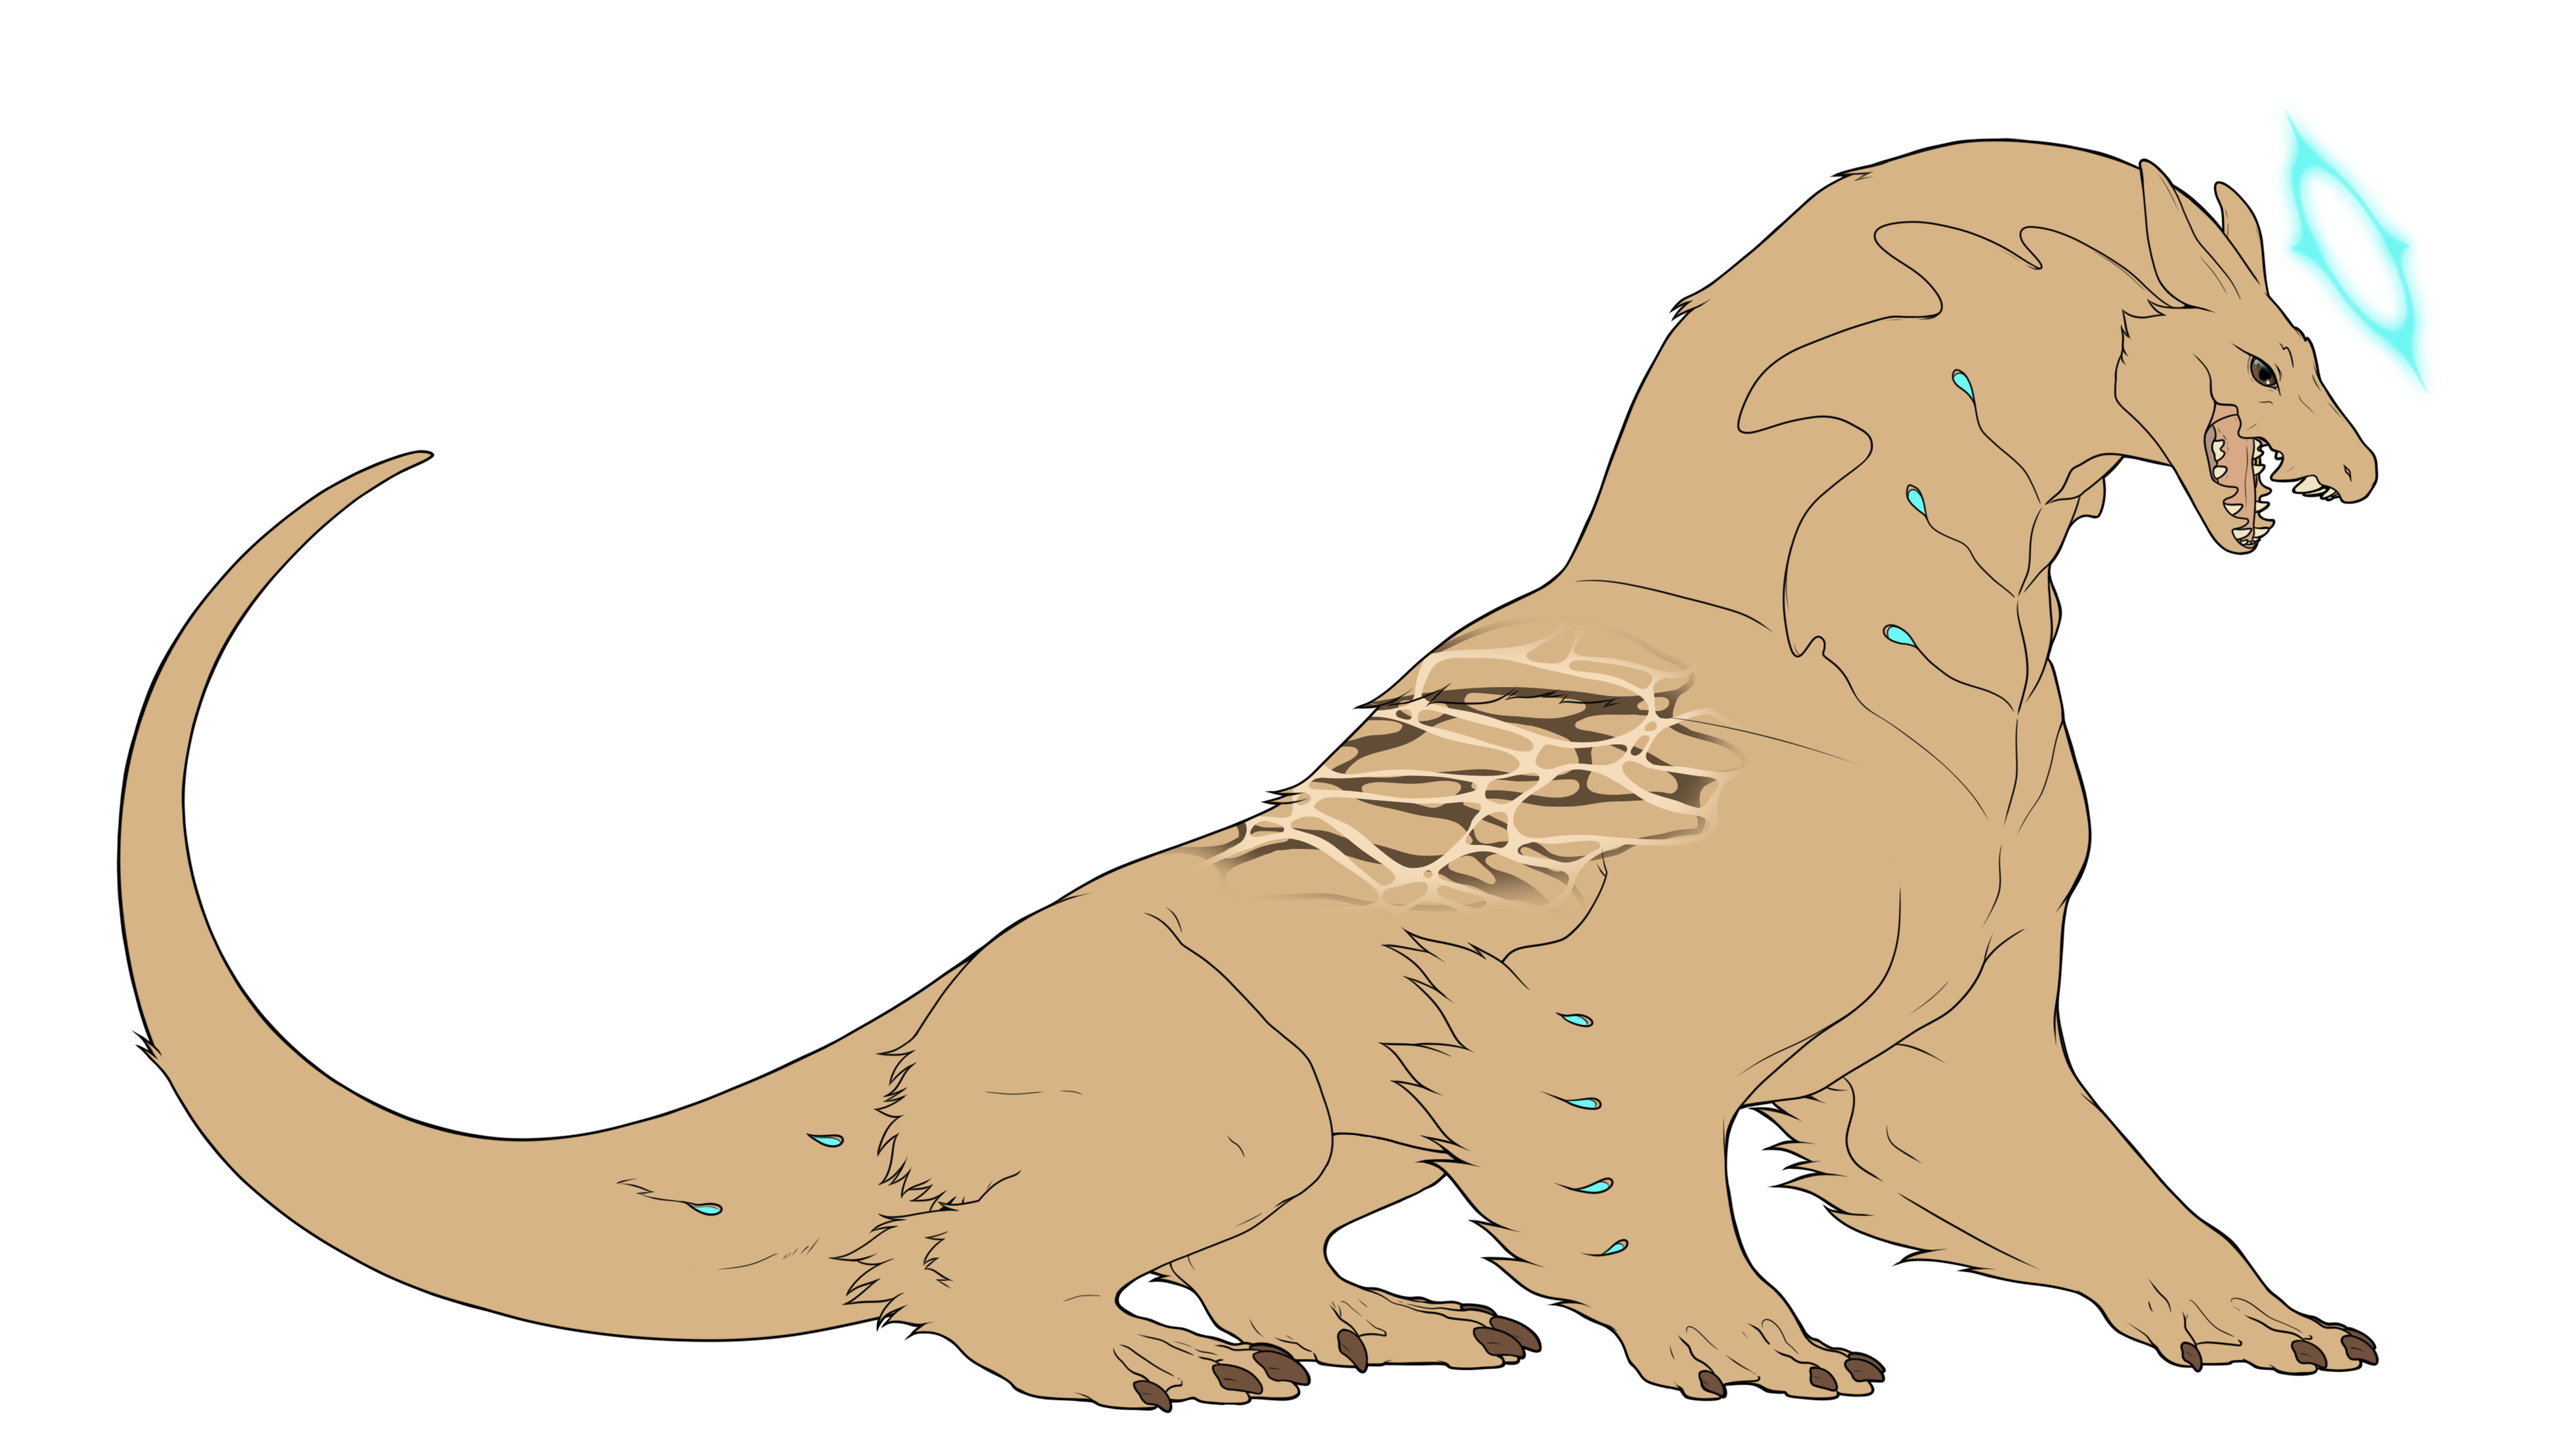
Submerged is a fascinating marking that captures the mesmerizing play of light and color reflected on water surfaces.
The Submerged marking is versatile and can be applied anywhere on your Rexal's body. However, be careful to ensure it doesn't obscure too much of the Rexal or interfere excessively with other markings. The pattern should remain cohesive, appearing as one large, connected patch, rather than scattered smaller patches across the body.
A key characteristic of the Submerged marking is its fluid, interconnected quality, resembling the seamless transition of colors and patterns seen in water reflections. If you decide to paint this marking, maintain its fluidity and ensure it still emulates the distinctive patterns created by water. This marking is a chance to bring a touch of the ethereal aquatic world to your Rexal's design, all while preserving the integrity of the Rexal's original markings.
Confused?
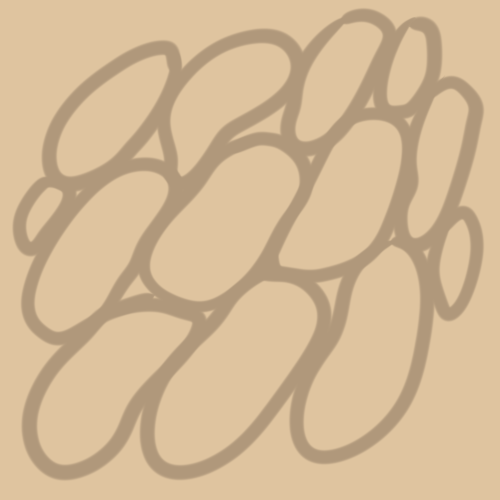
Here's a guide for a simple submerged pattern:
Click me to open the tutorial!
|
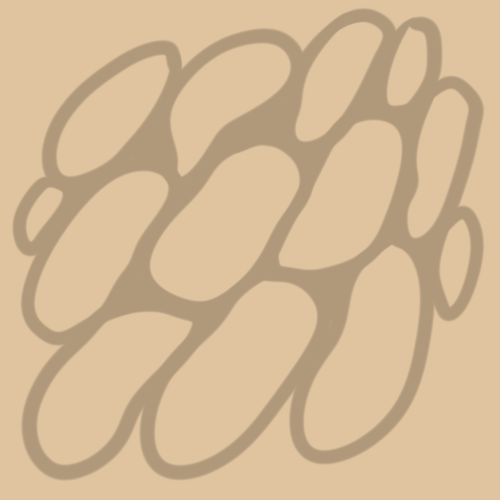
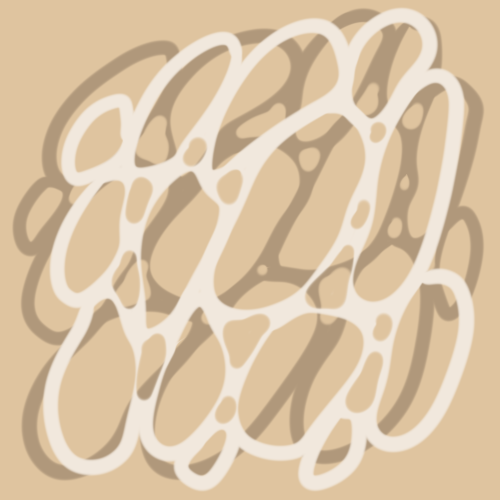
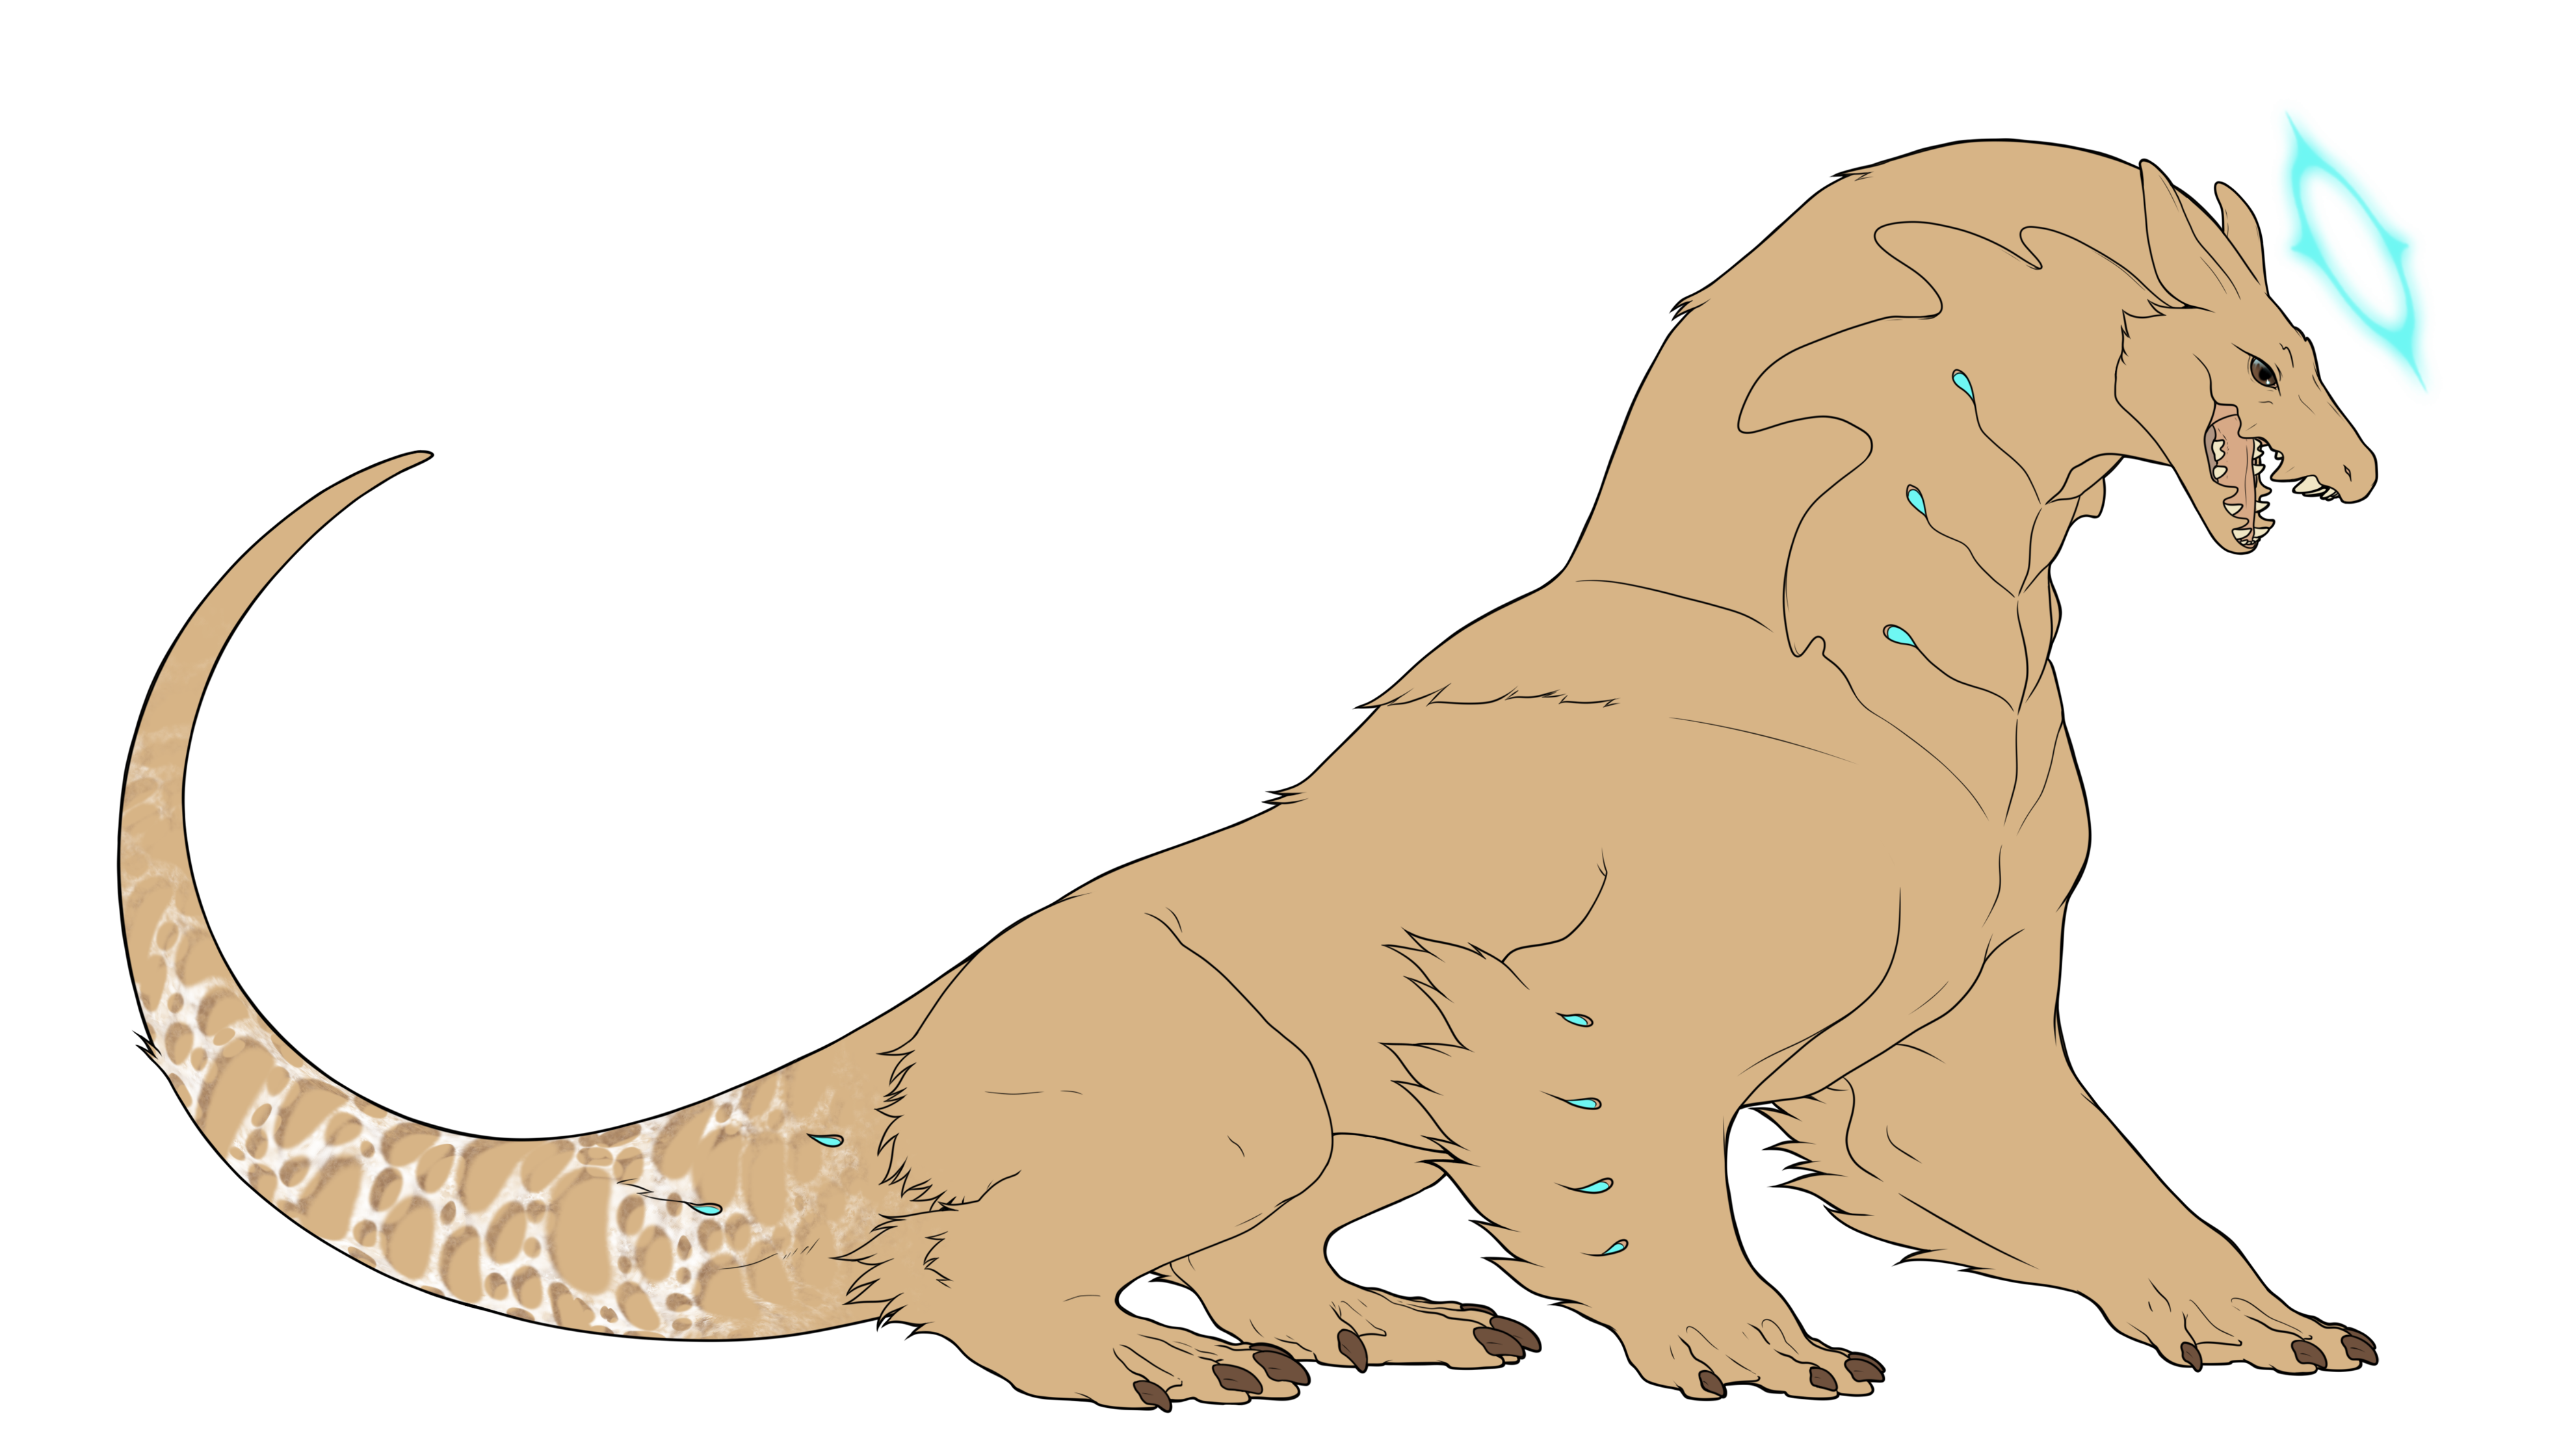
Pick a color darker than the base coat to draw various natural (oval-circular) shapes of varying sizes. They don’t necessarily have to be touching. The only strong DON’T here is making the shapes too uniform or geometric. |
Connect the shapes by filling in the spaces in between. |
Erase smaller holes in the filling as seen fit. |
 |
 |
 |
|
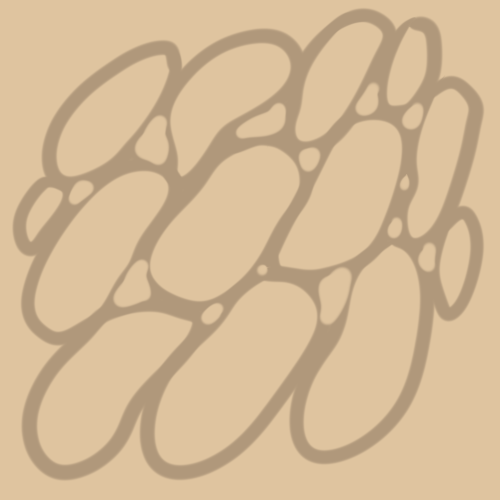
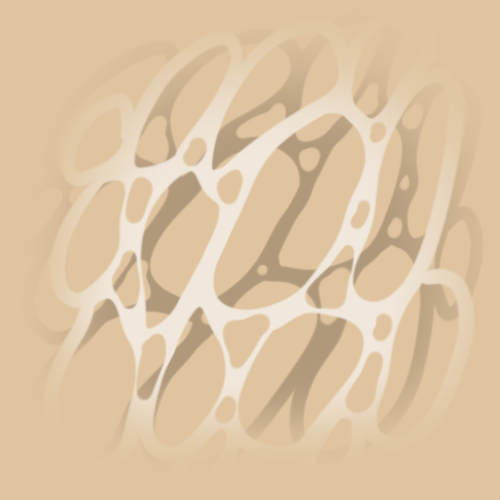
Pick a color lighter than the base coat to once again draw oval-like shapes on top of the previous layer. |
Once again, fill in the spaces between the shapes. |
Again, erase small holes in filling as needed. |
 |
 |
 |
|
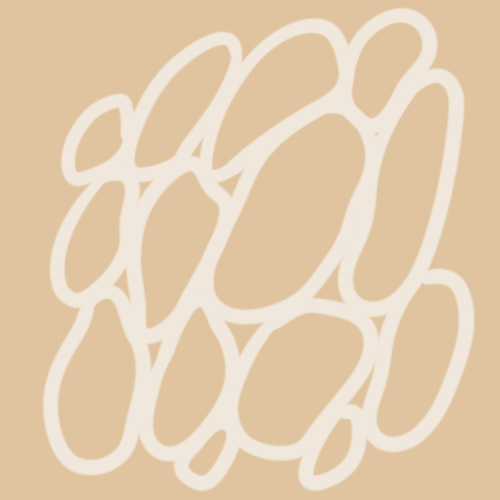
All done! Both layers will become the submerged marking! |
||
|
Submerged as Modifier
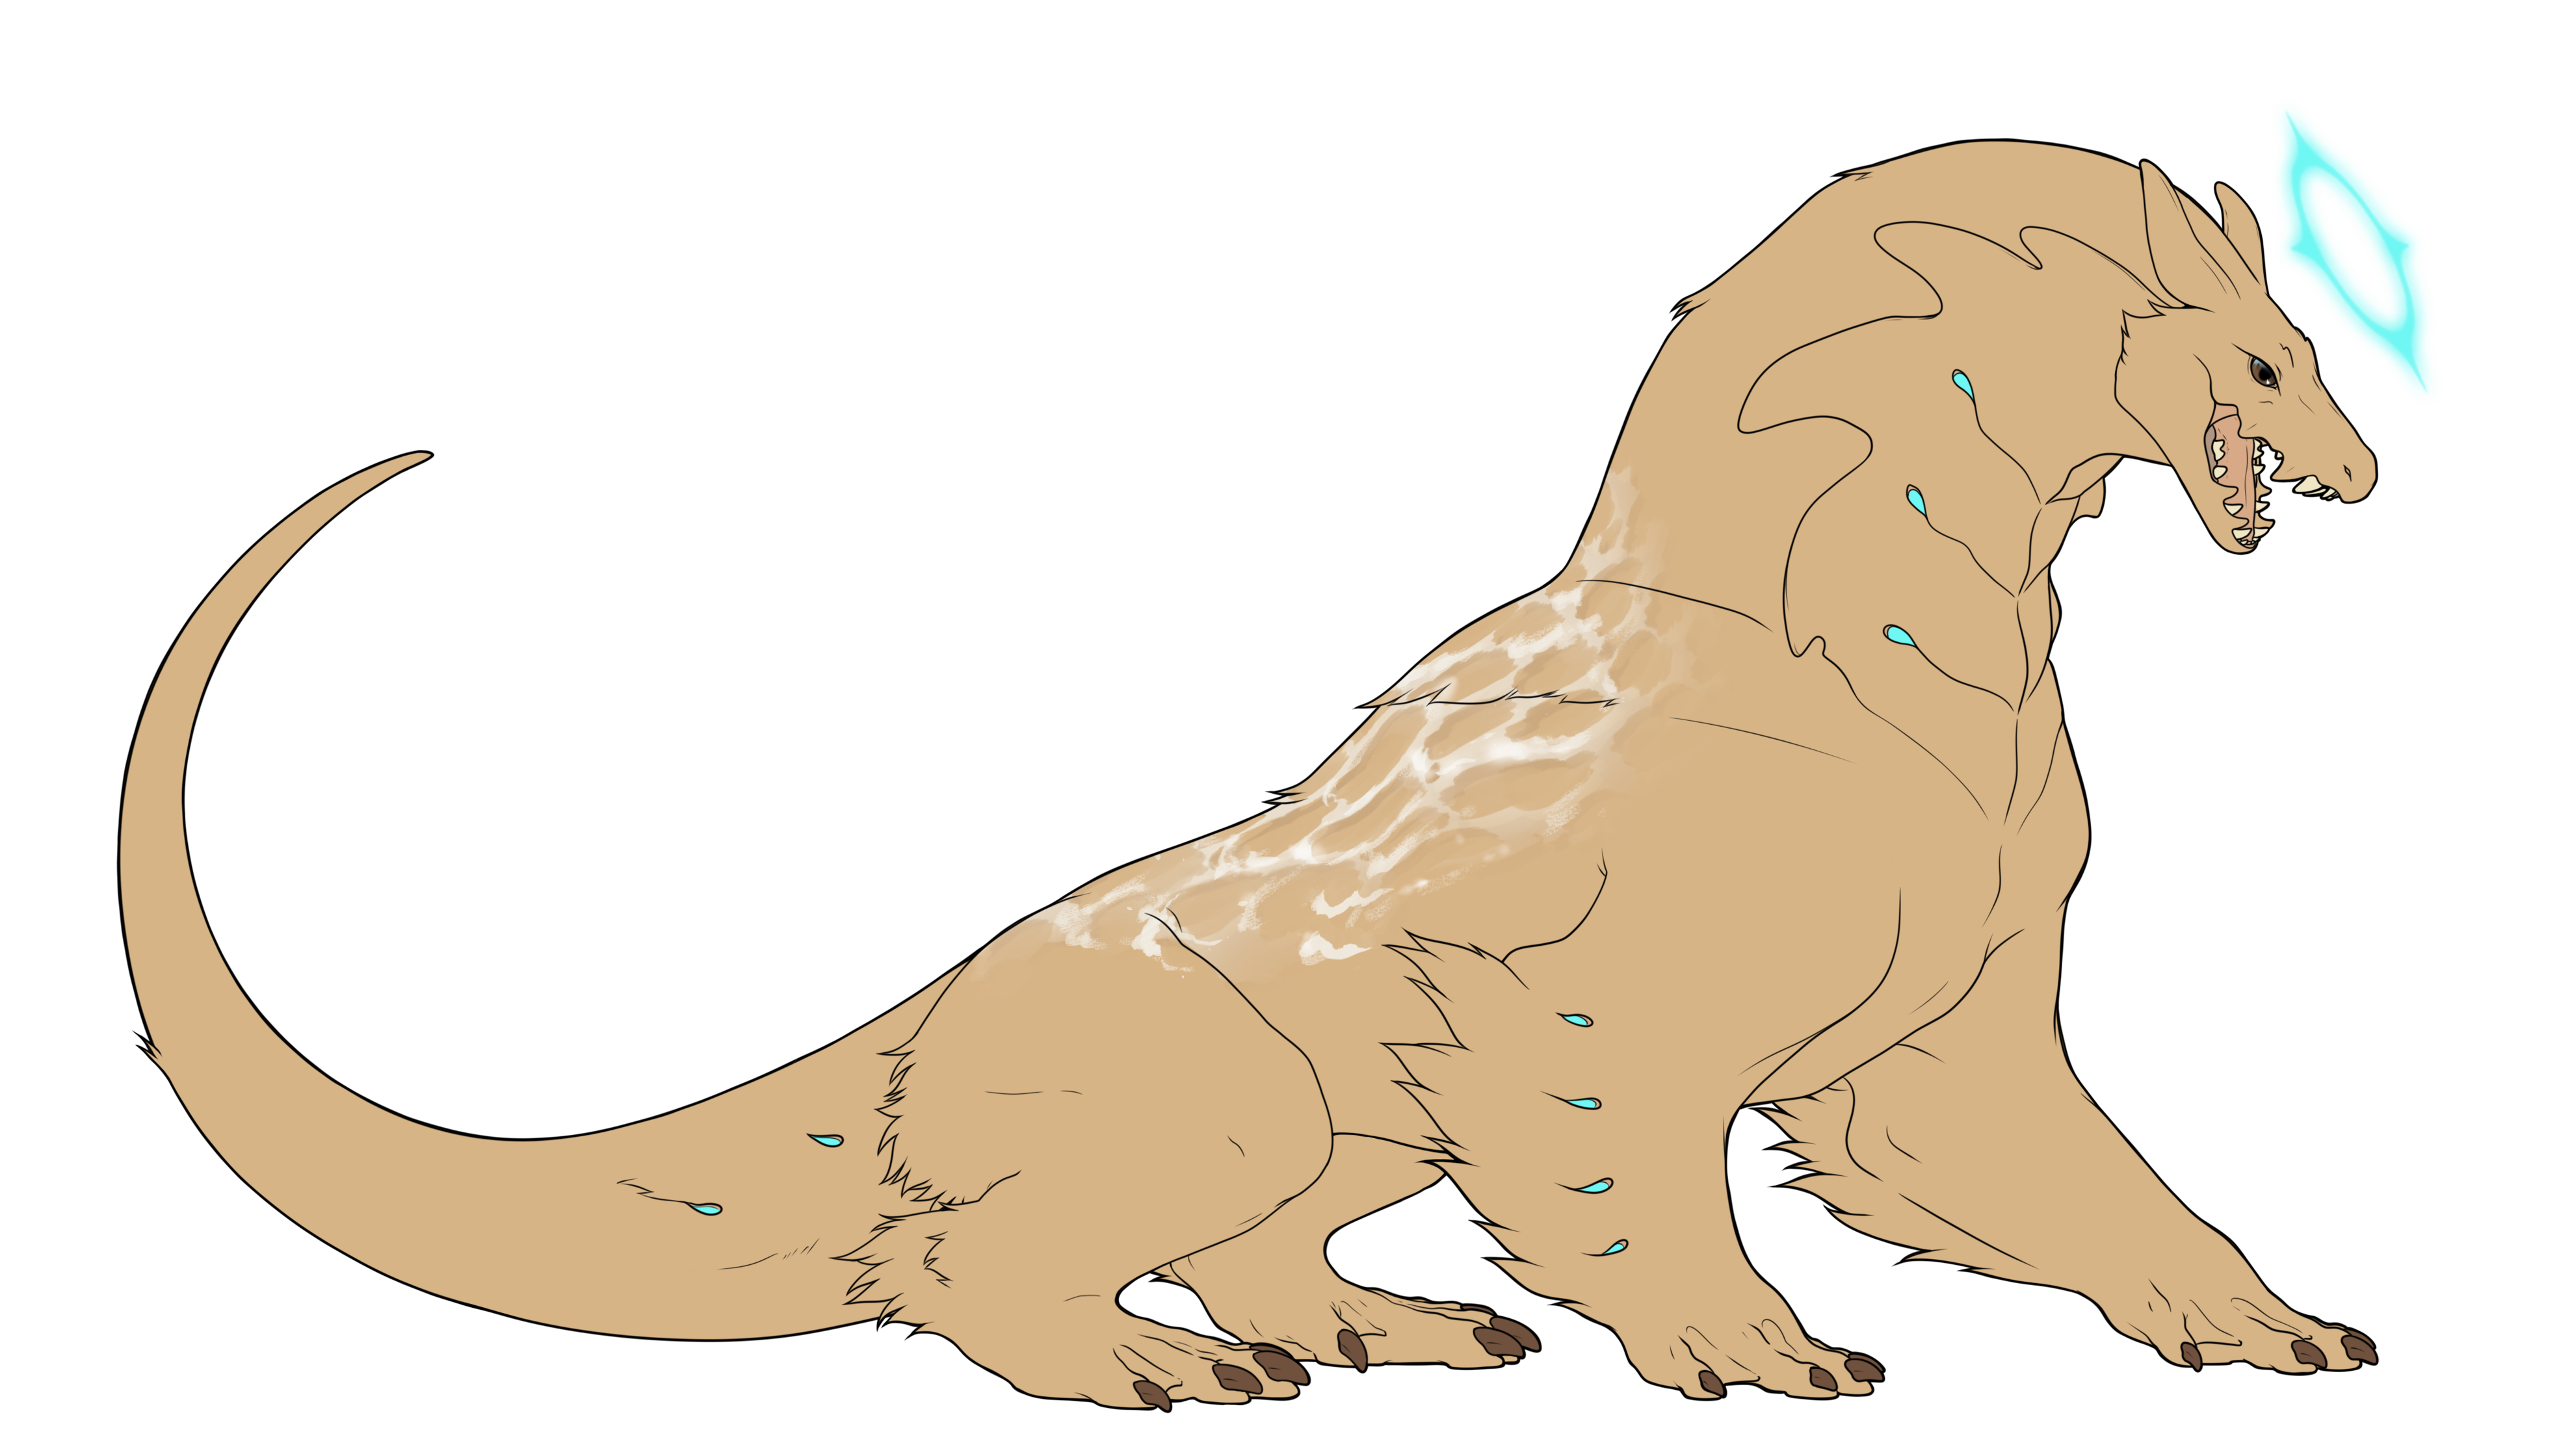
| When used as a modifier, Submerged creates a ripple-like effect on the edges of other markings, giving them a water-like appearance. This effect works only on markings that are white or lighter than the base coat. The key to this modification is ensuring a smooth and natural transition from the original marking to the Submerged wave-like edges. Keep in mind that the intention is to emulate the patterns formed by water, so strive to achieve this organic feel in your design. |
 |
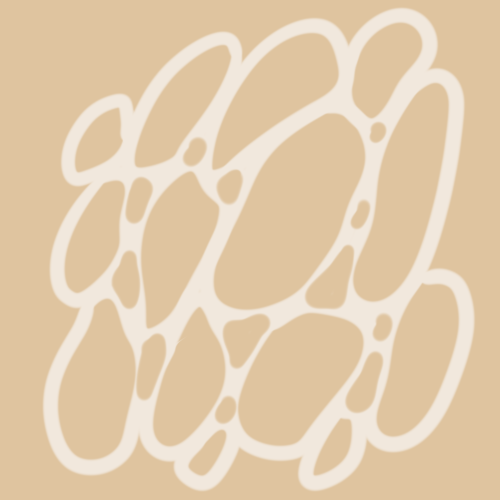
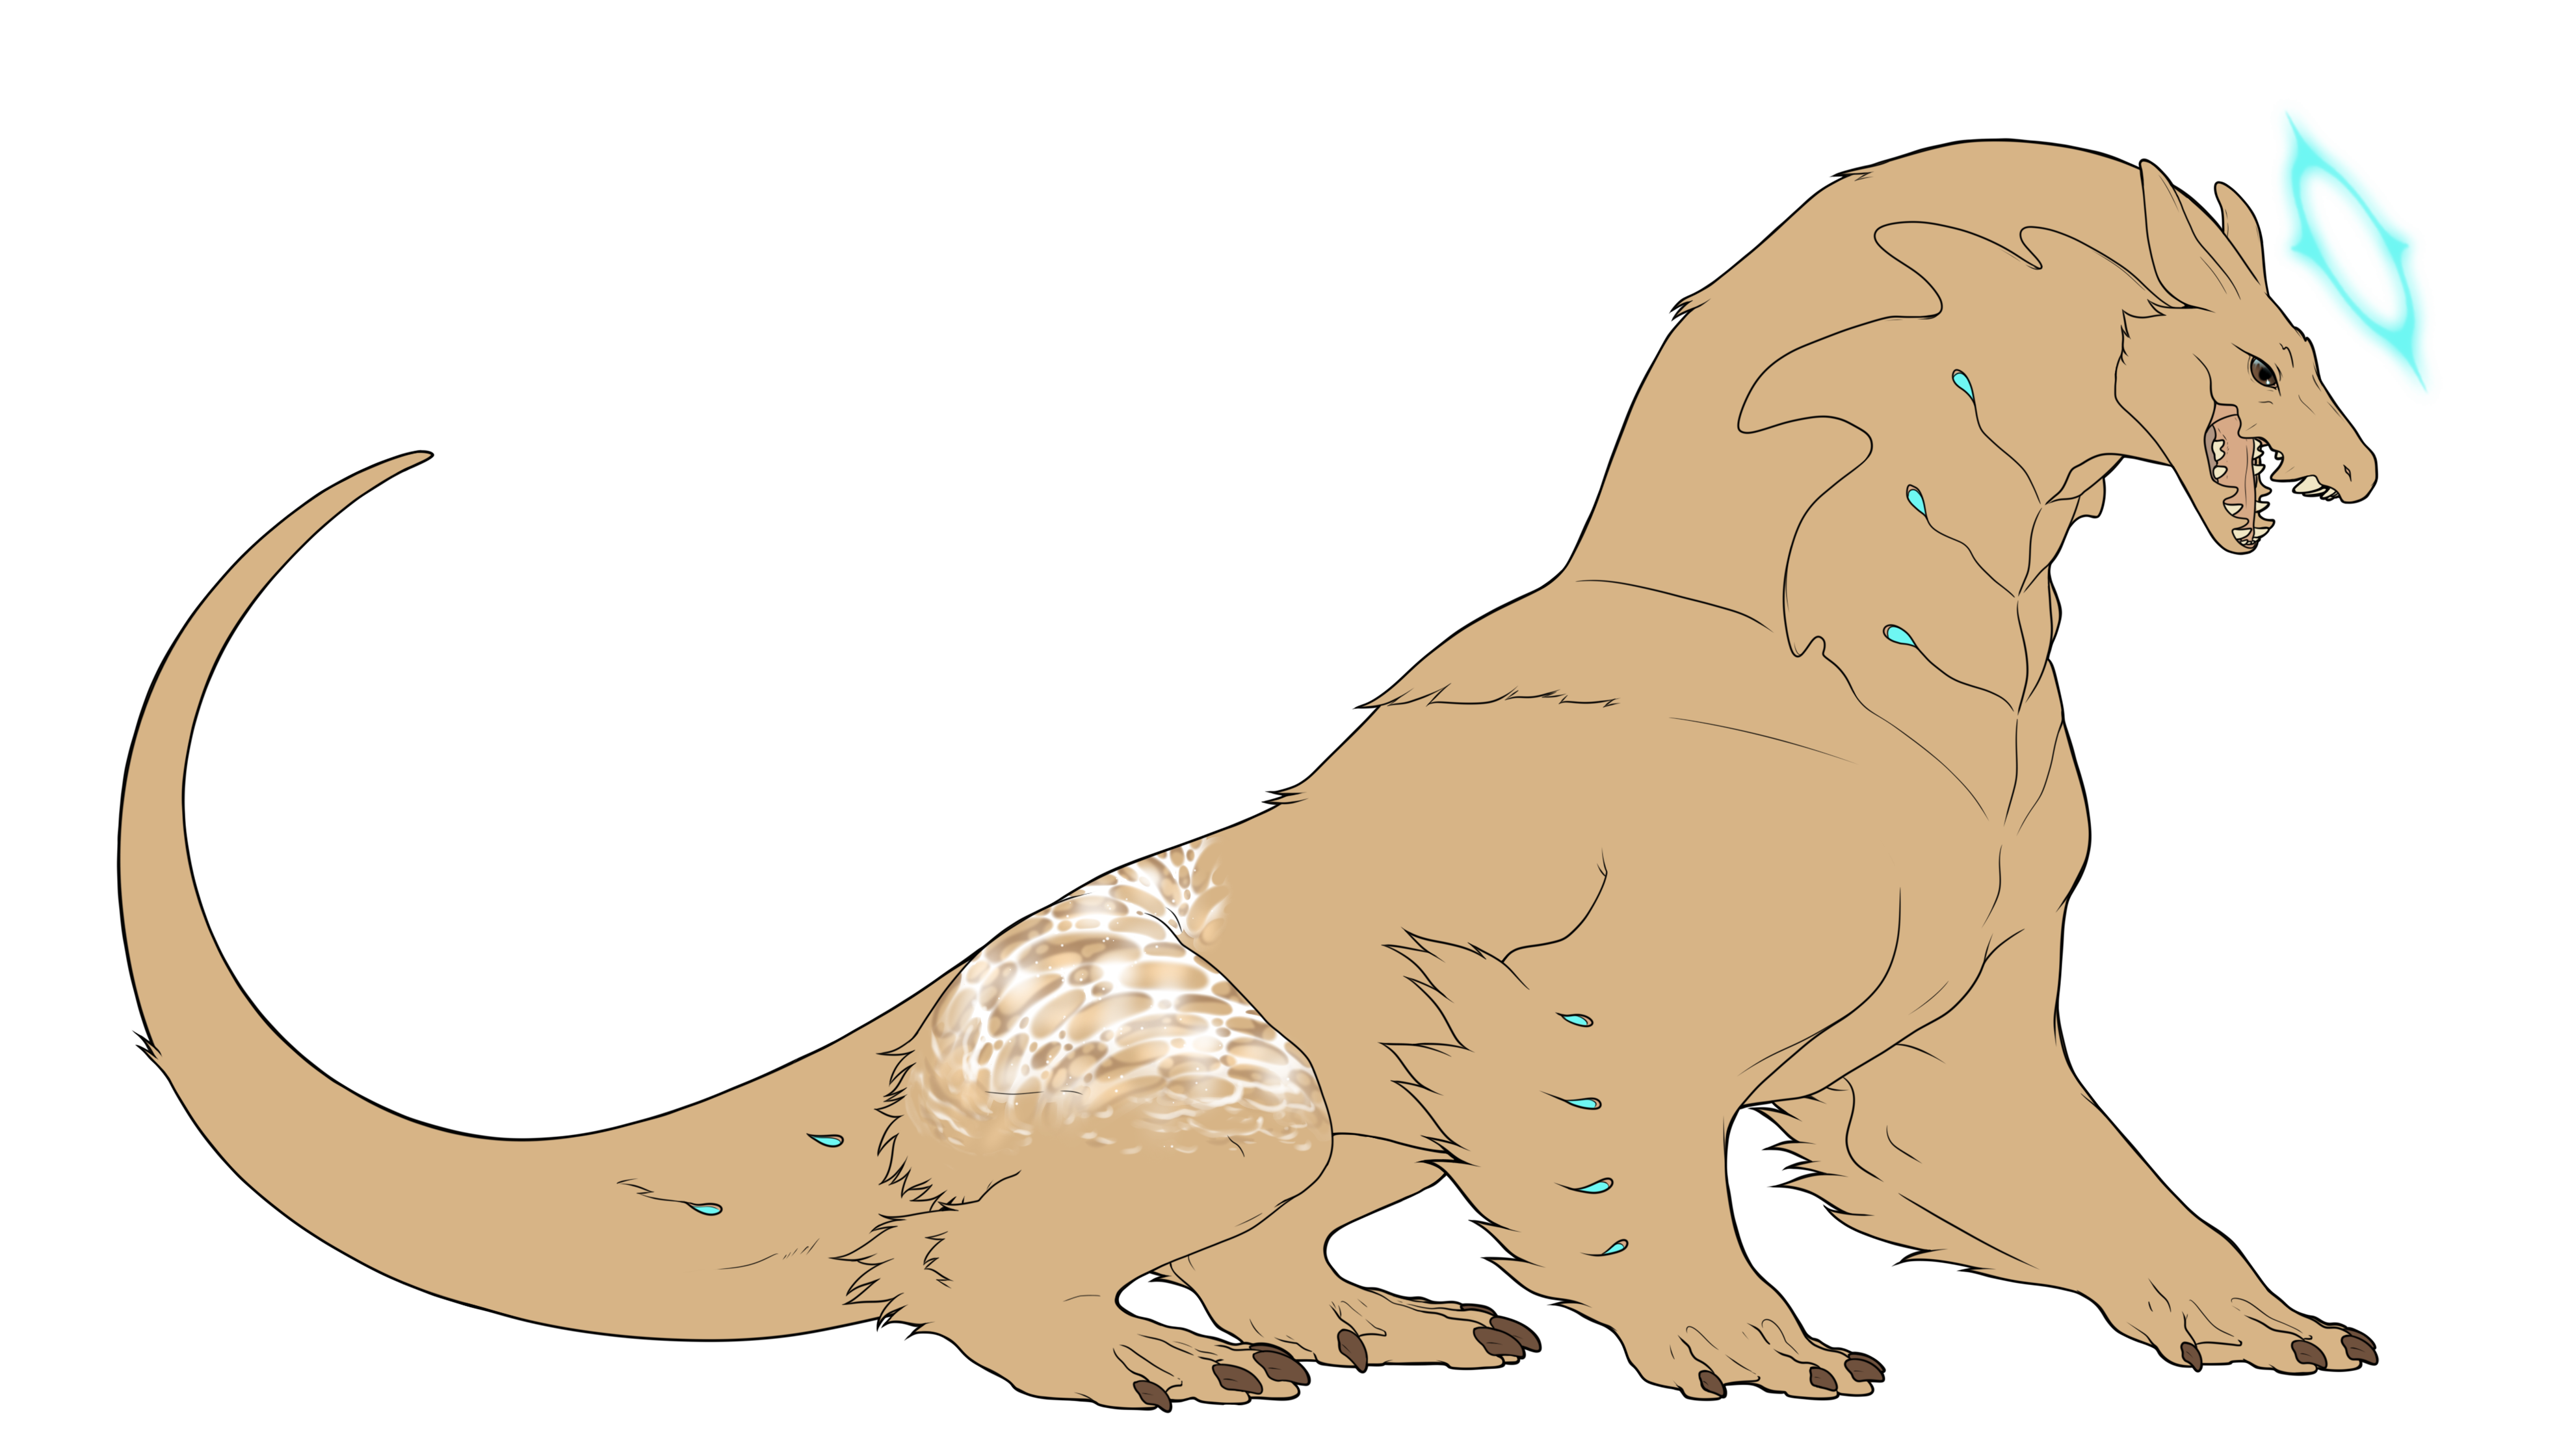
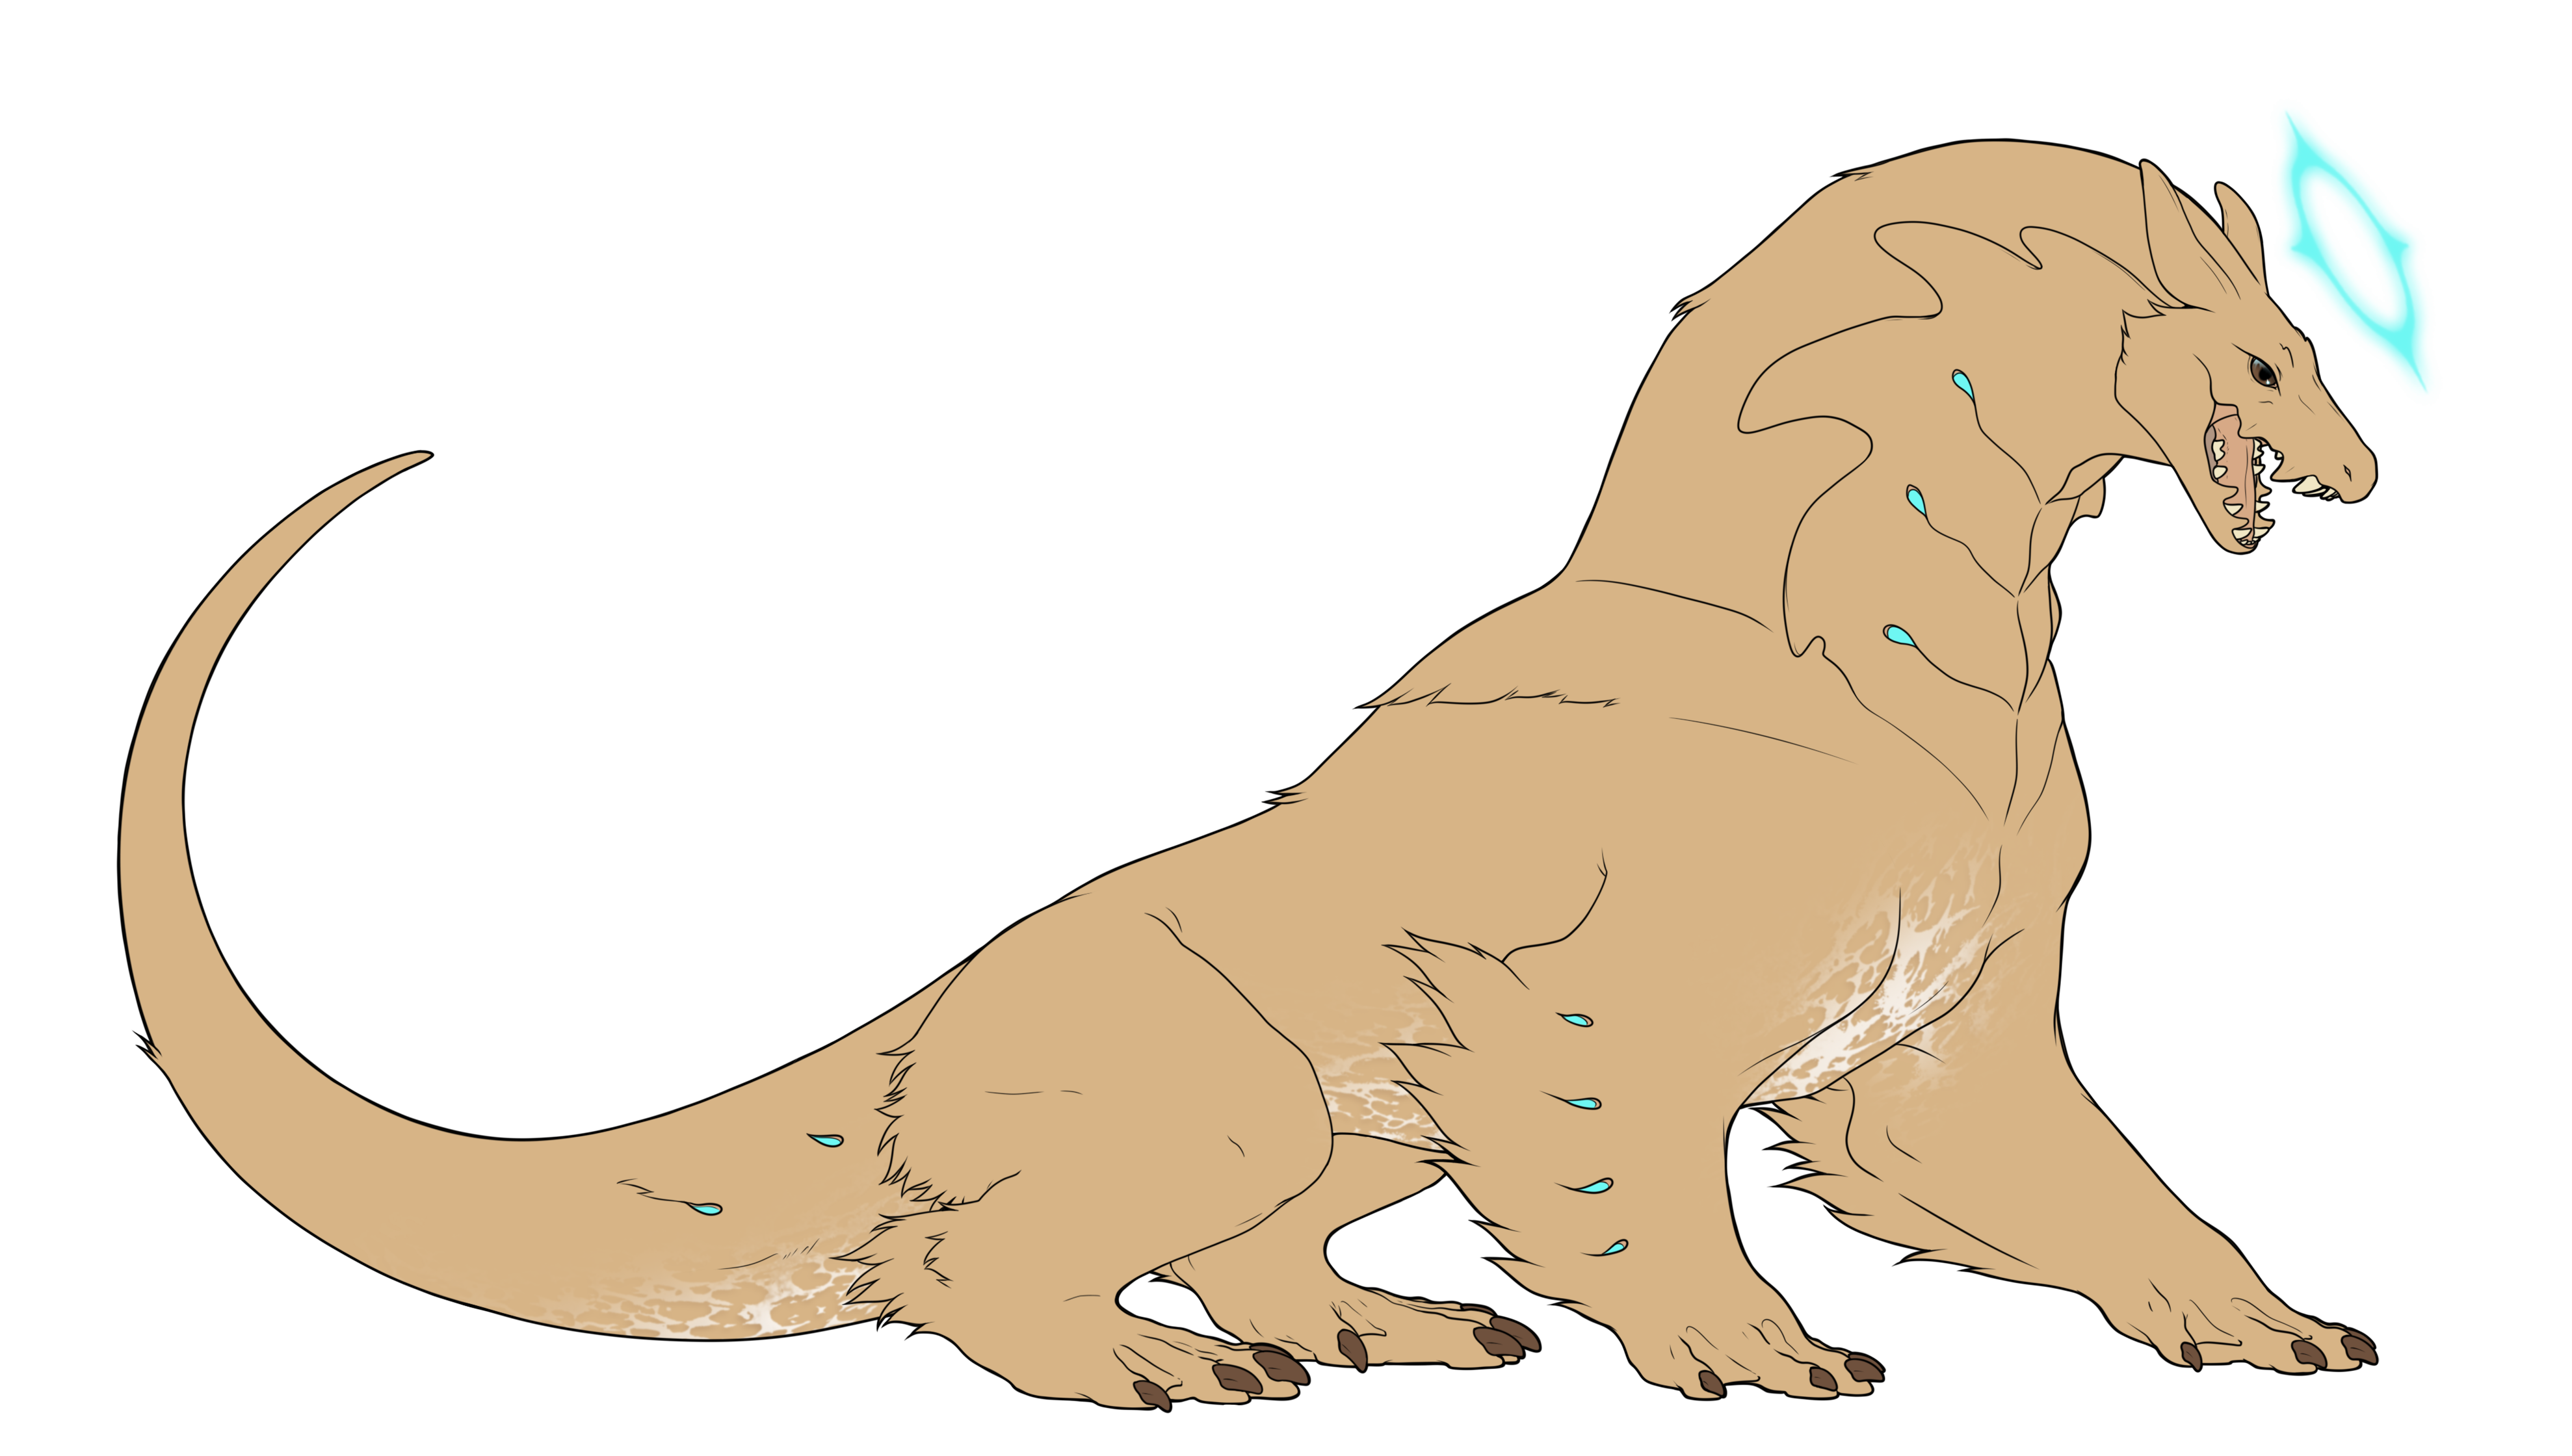
In its dominant form, Submerged offers an additional design element. You can introduce a secondary white layer underneath the primary Submerged layer, giving the impression of sunlight filtering through water. It's crucial to maintain a natural look, with the white appearing as a diffused glow, like light reflecting off a lakebed. This effect should complement the existing wave patterns rather than overpower them.
You are also allowed to add a few spots of shimmer.
 |
 |
 |
 |
 |
 |